
Here follows the english translation of my conversion-blog post, if you prefer to read the german version you can find the original post here.
Questions
When I started planning the interior in 2015, many things had been already decided but others still needed a ton of research. Plus: On some of the subjects like the electrification or the carpentry (especially the furniture mounting) I still wasn't sure if I could do everything on my own or if I had to ask for somebody else's professional help. But I chose to trust in the process and hoped that on upcoming questions answers would follow.

The car still at the car dealer, without a clue of his big transformation which is about to happen
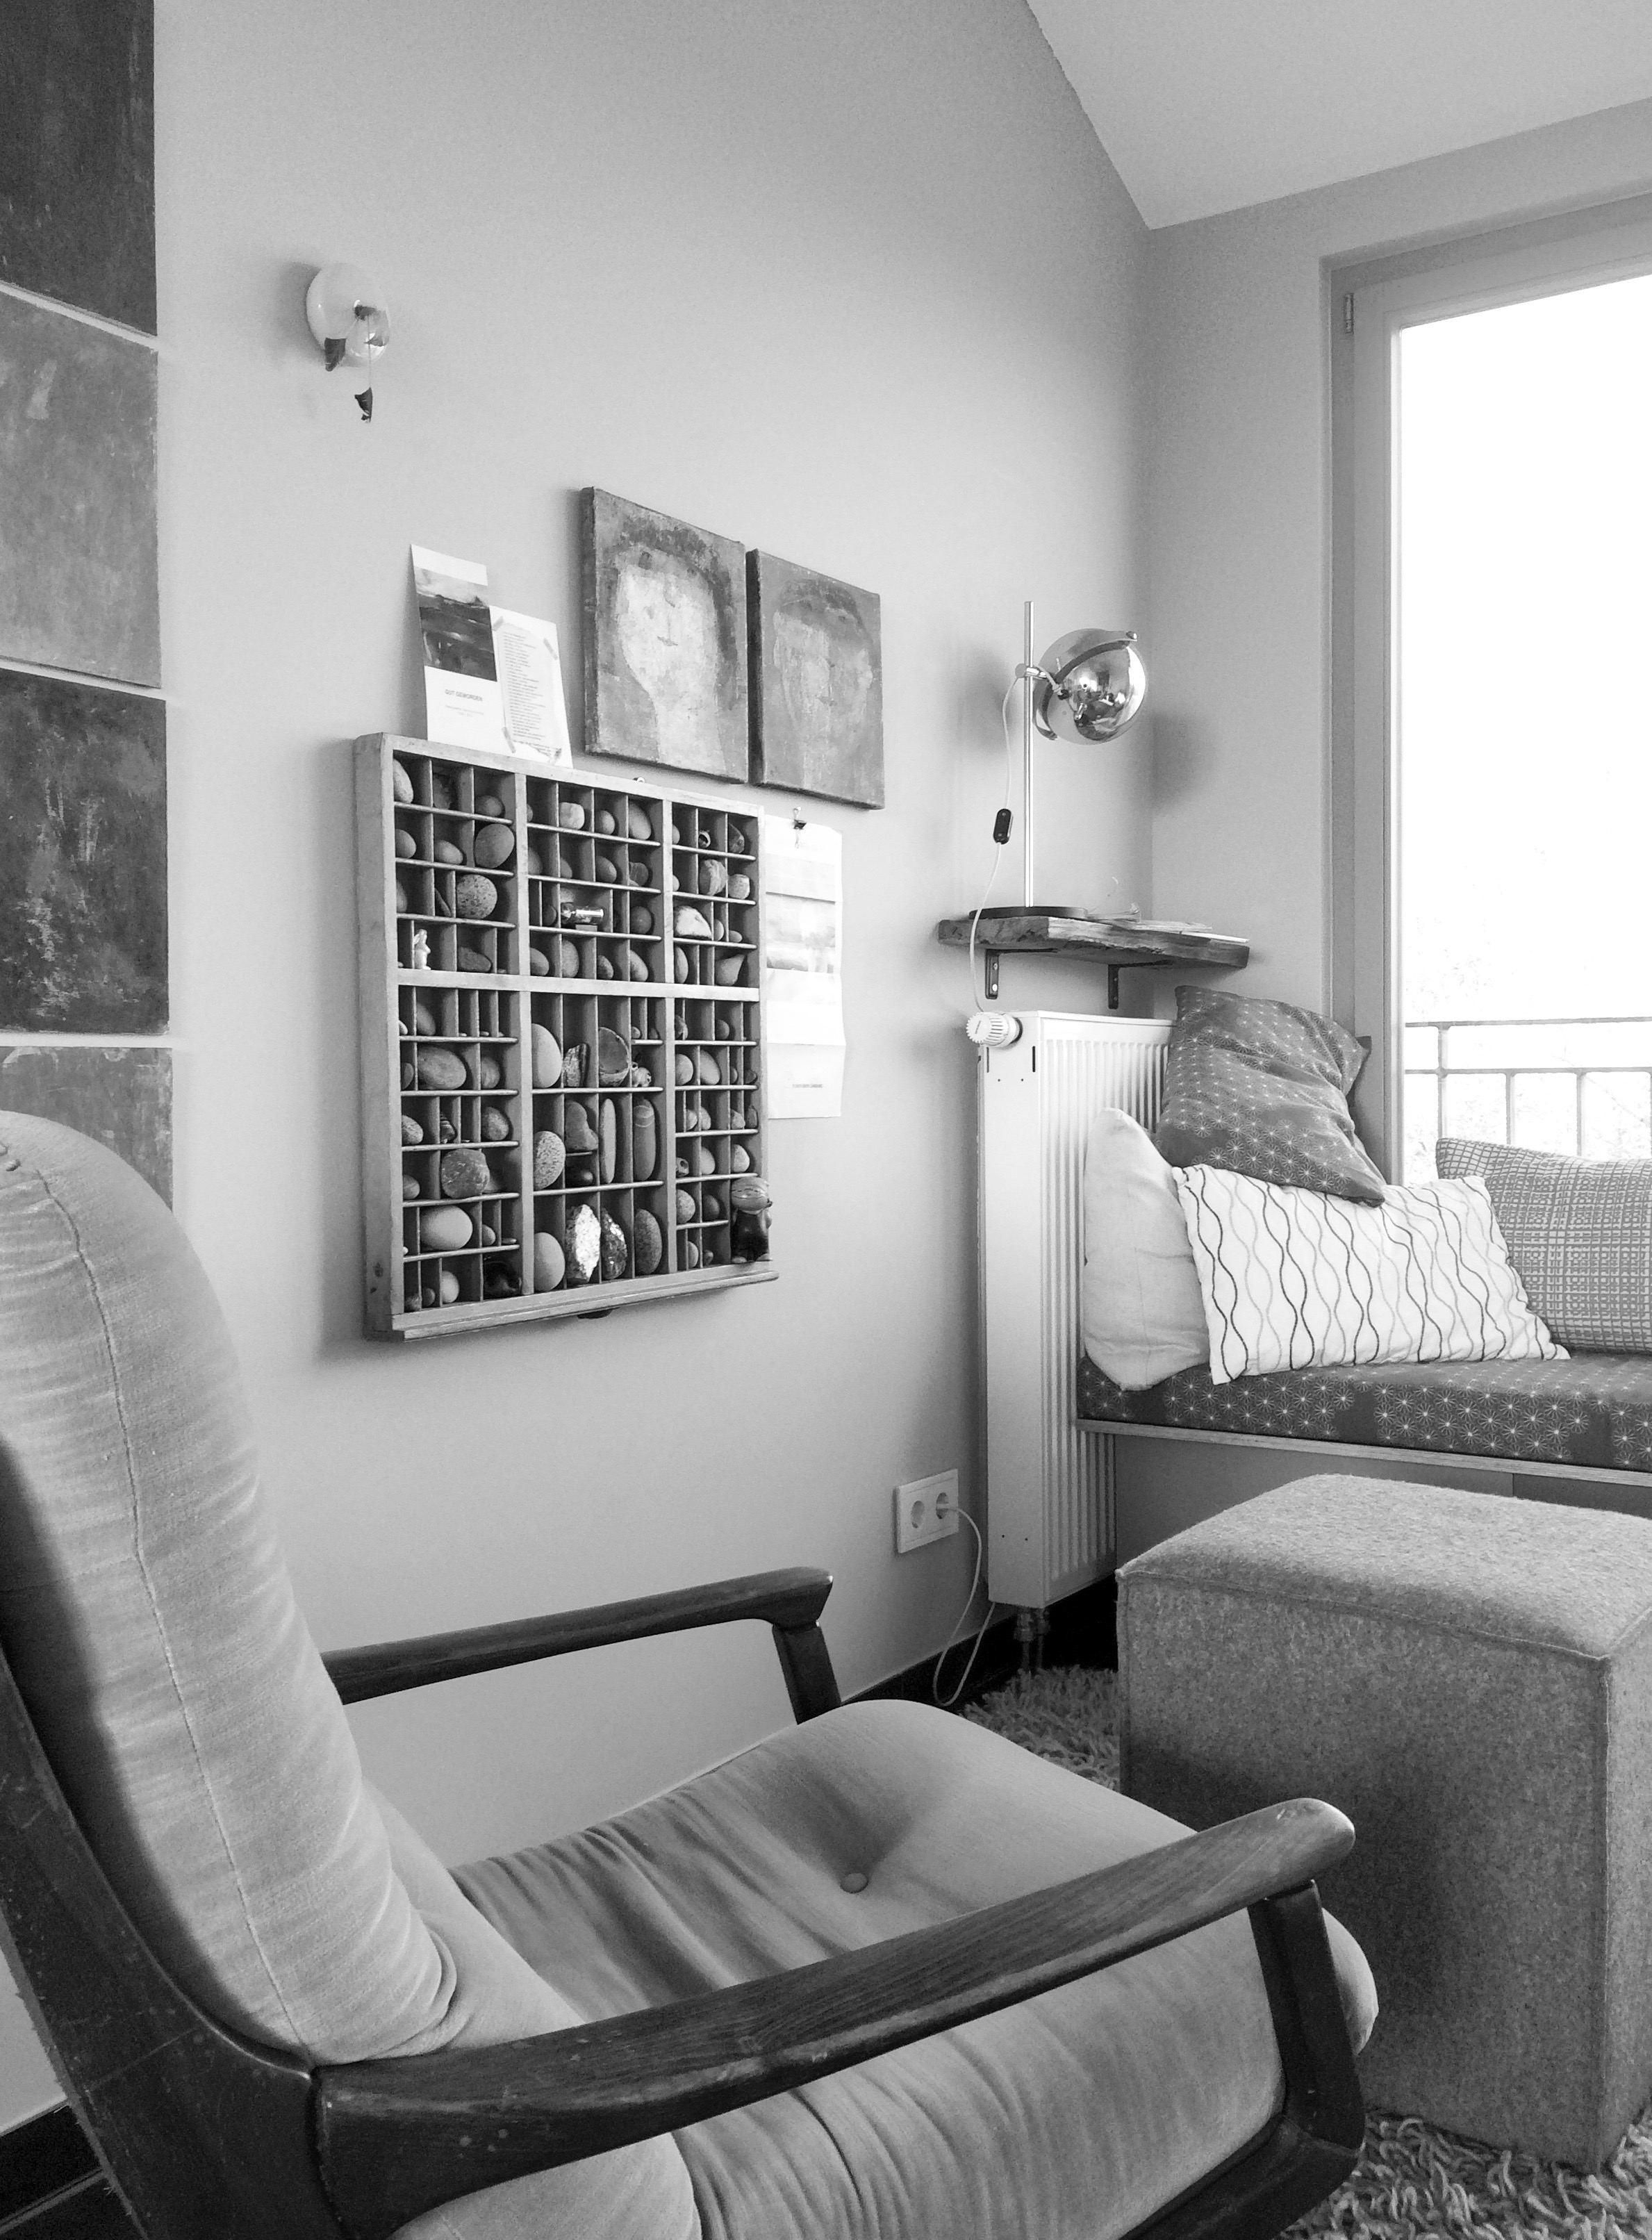
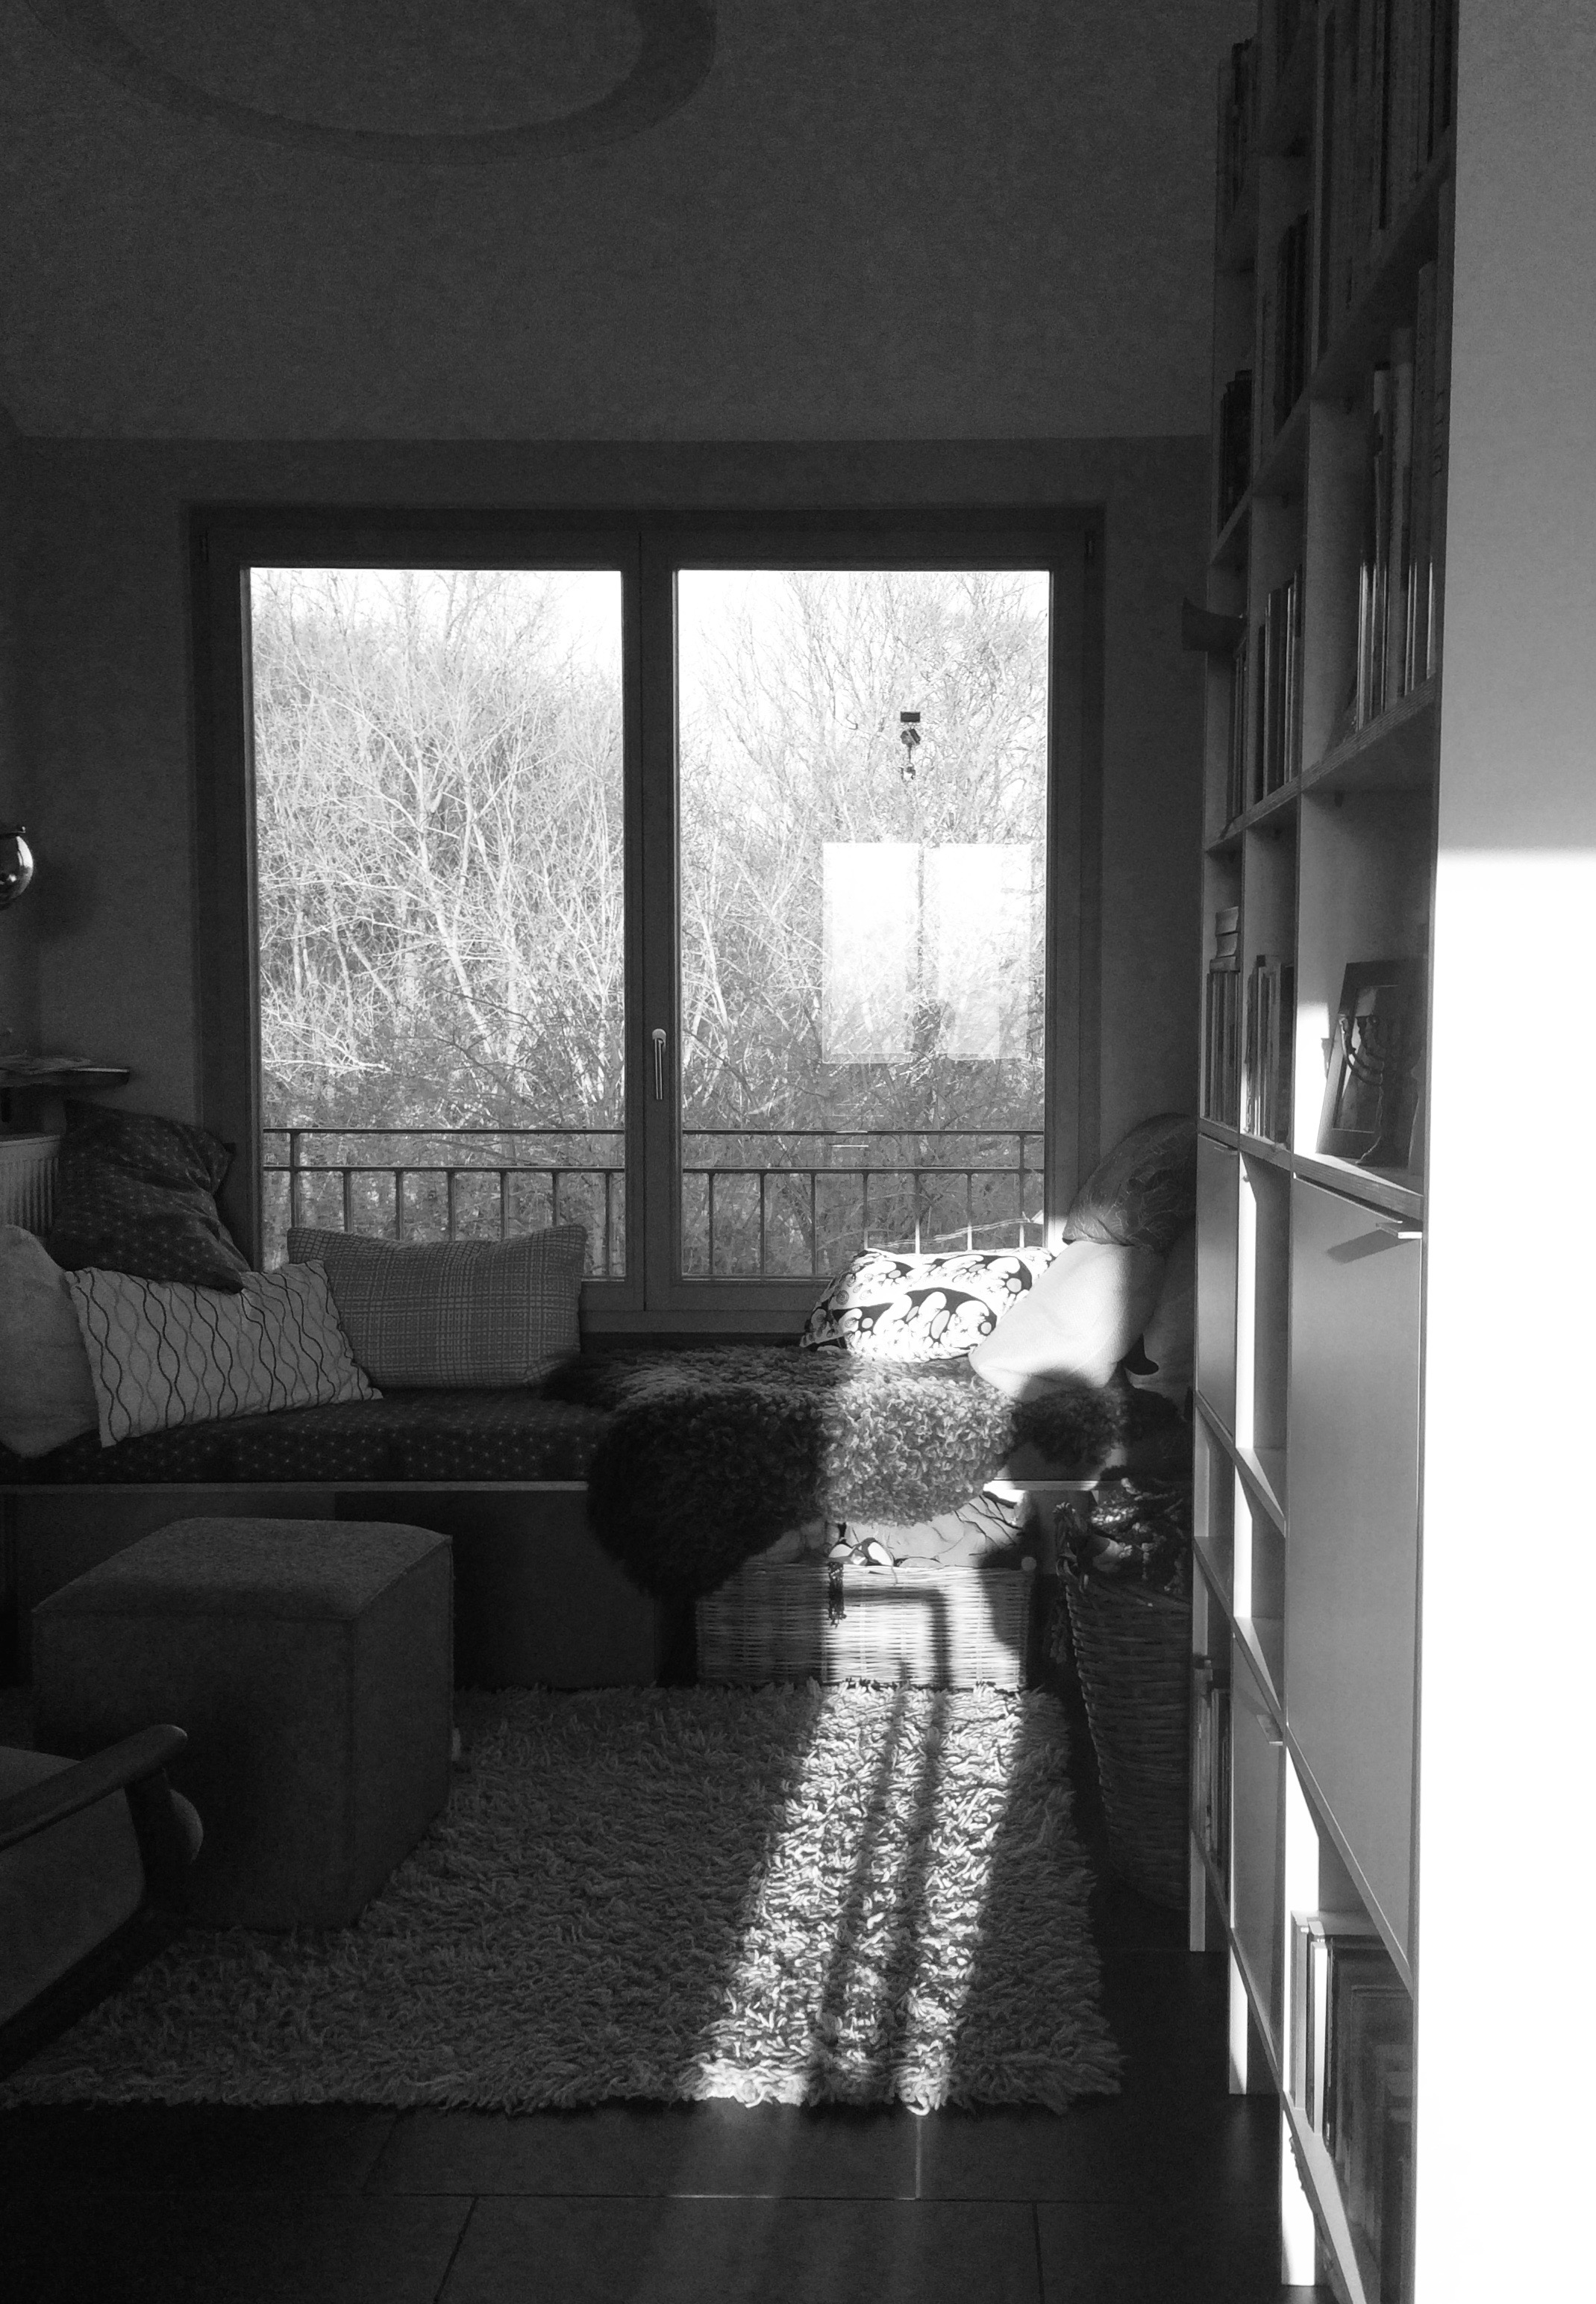
For example, question #1: Where would I work? I was going to need a place where I could build and paint and do all the dirty stuff which needed to be done, ideally with light, electricity, water and -if needed- fresh air. Because I couldn't find any appropriate garage nearby (or any garage at all for that matter) I decided to make some space at home. Luckily we have upstairs this perfect spot with big windows, high ceilings and just enough space to work (ok, I admit a little more wouldn't have hurt but it worked anyway). From my experience as a home-office-freelance-mum I knew to appreciate the time related advantages of working from home and because the most precious thing i have is time I felt really lucky when my family agreed to installing a temporary studio on the second floor.
So I prepped the place, unfortunately with a perforated plastic foil, which made the job incredible harder and cost me so much unnecessary time. So no recommendation on that part!

Inspiration
Like most of the times the first idea of the look inside was born easily and corresponding samples where found fast (see also RAUMKUNSTBUS #1). I wanted to use Plywood for the furniture and combine it with a certain color of grey-green and textiles in brown, nude and black&white, plus some splashes of neon.

A lot more difficult was for me to decide on the right floor material. I didn't want to use PVC or vinyl flooring (too much evaporations), neither laminate (too heavy as well), nor linoleum or rubber (too odorous). Cork flooring was too constrained color-wise, and wood was simply too much wood for my taste in this small space. After all I wanted to apply the same "interior rules" on this conversion like on every other interior project of mine and one of them states the "complexity in materials". So what to do? Luckily I came across the answer to this question on FB when a friend of mine showed her stenciled kitchen floor make over, but I'll get back on this later!
Preparations
Because first I had to tint windows. A topic I wouldn't have dreamed of spending more then 5 minutes on ever! After some research (definitively more then 5 minutes) about the perfect tinted window film colour I decided to go with a silver mirrored, only soft tinted window film which would allow me to see at night enough in the parking lot and which darkens only slightly the internal space. Because this was one of the selling points for a car with this many windows: The light-flooded atmosphere inside the van with a 360 degree view. Plus I wouldn't have wanted such a hard black&white contrast on the van. Now it fits nicely to the rest of the interior design.
But I have to admit, I didn't tint the windows myself. Instead I decided to spare my nerves and engaged some professionals in hamburg to do the job. Best decision ever regarding the challenges which were about to come. Enough to proof myself for sure.
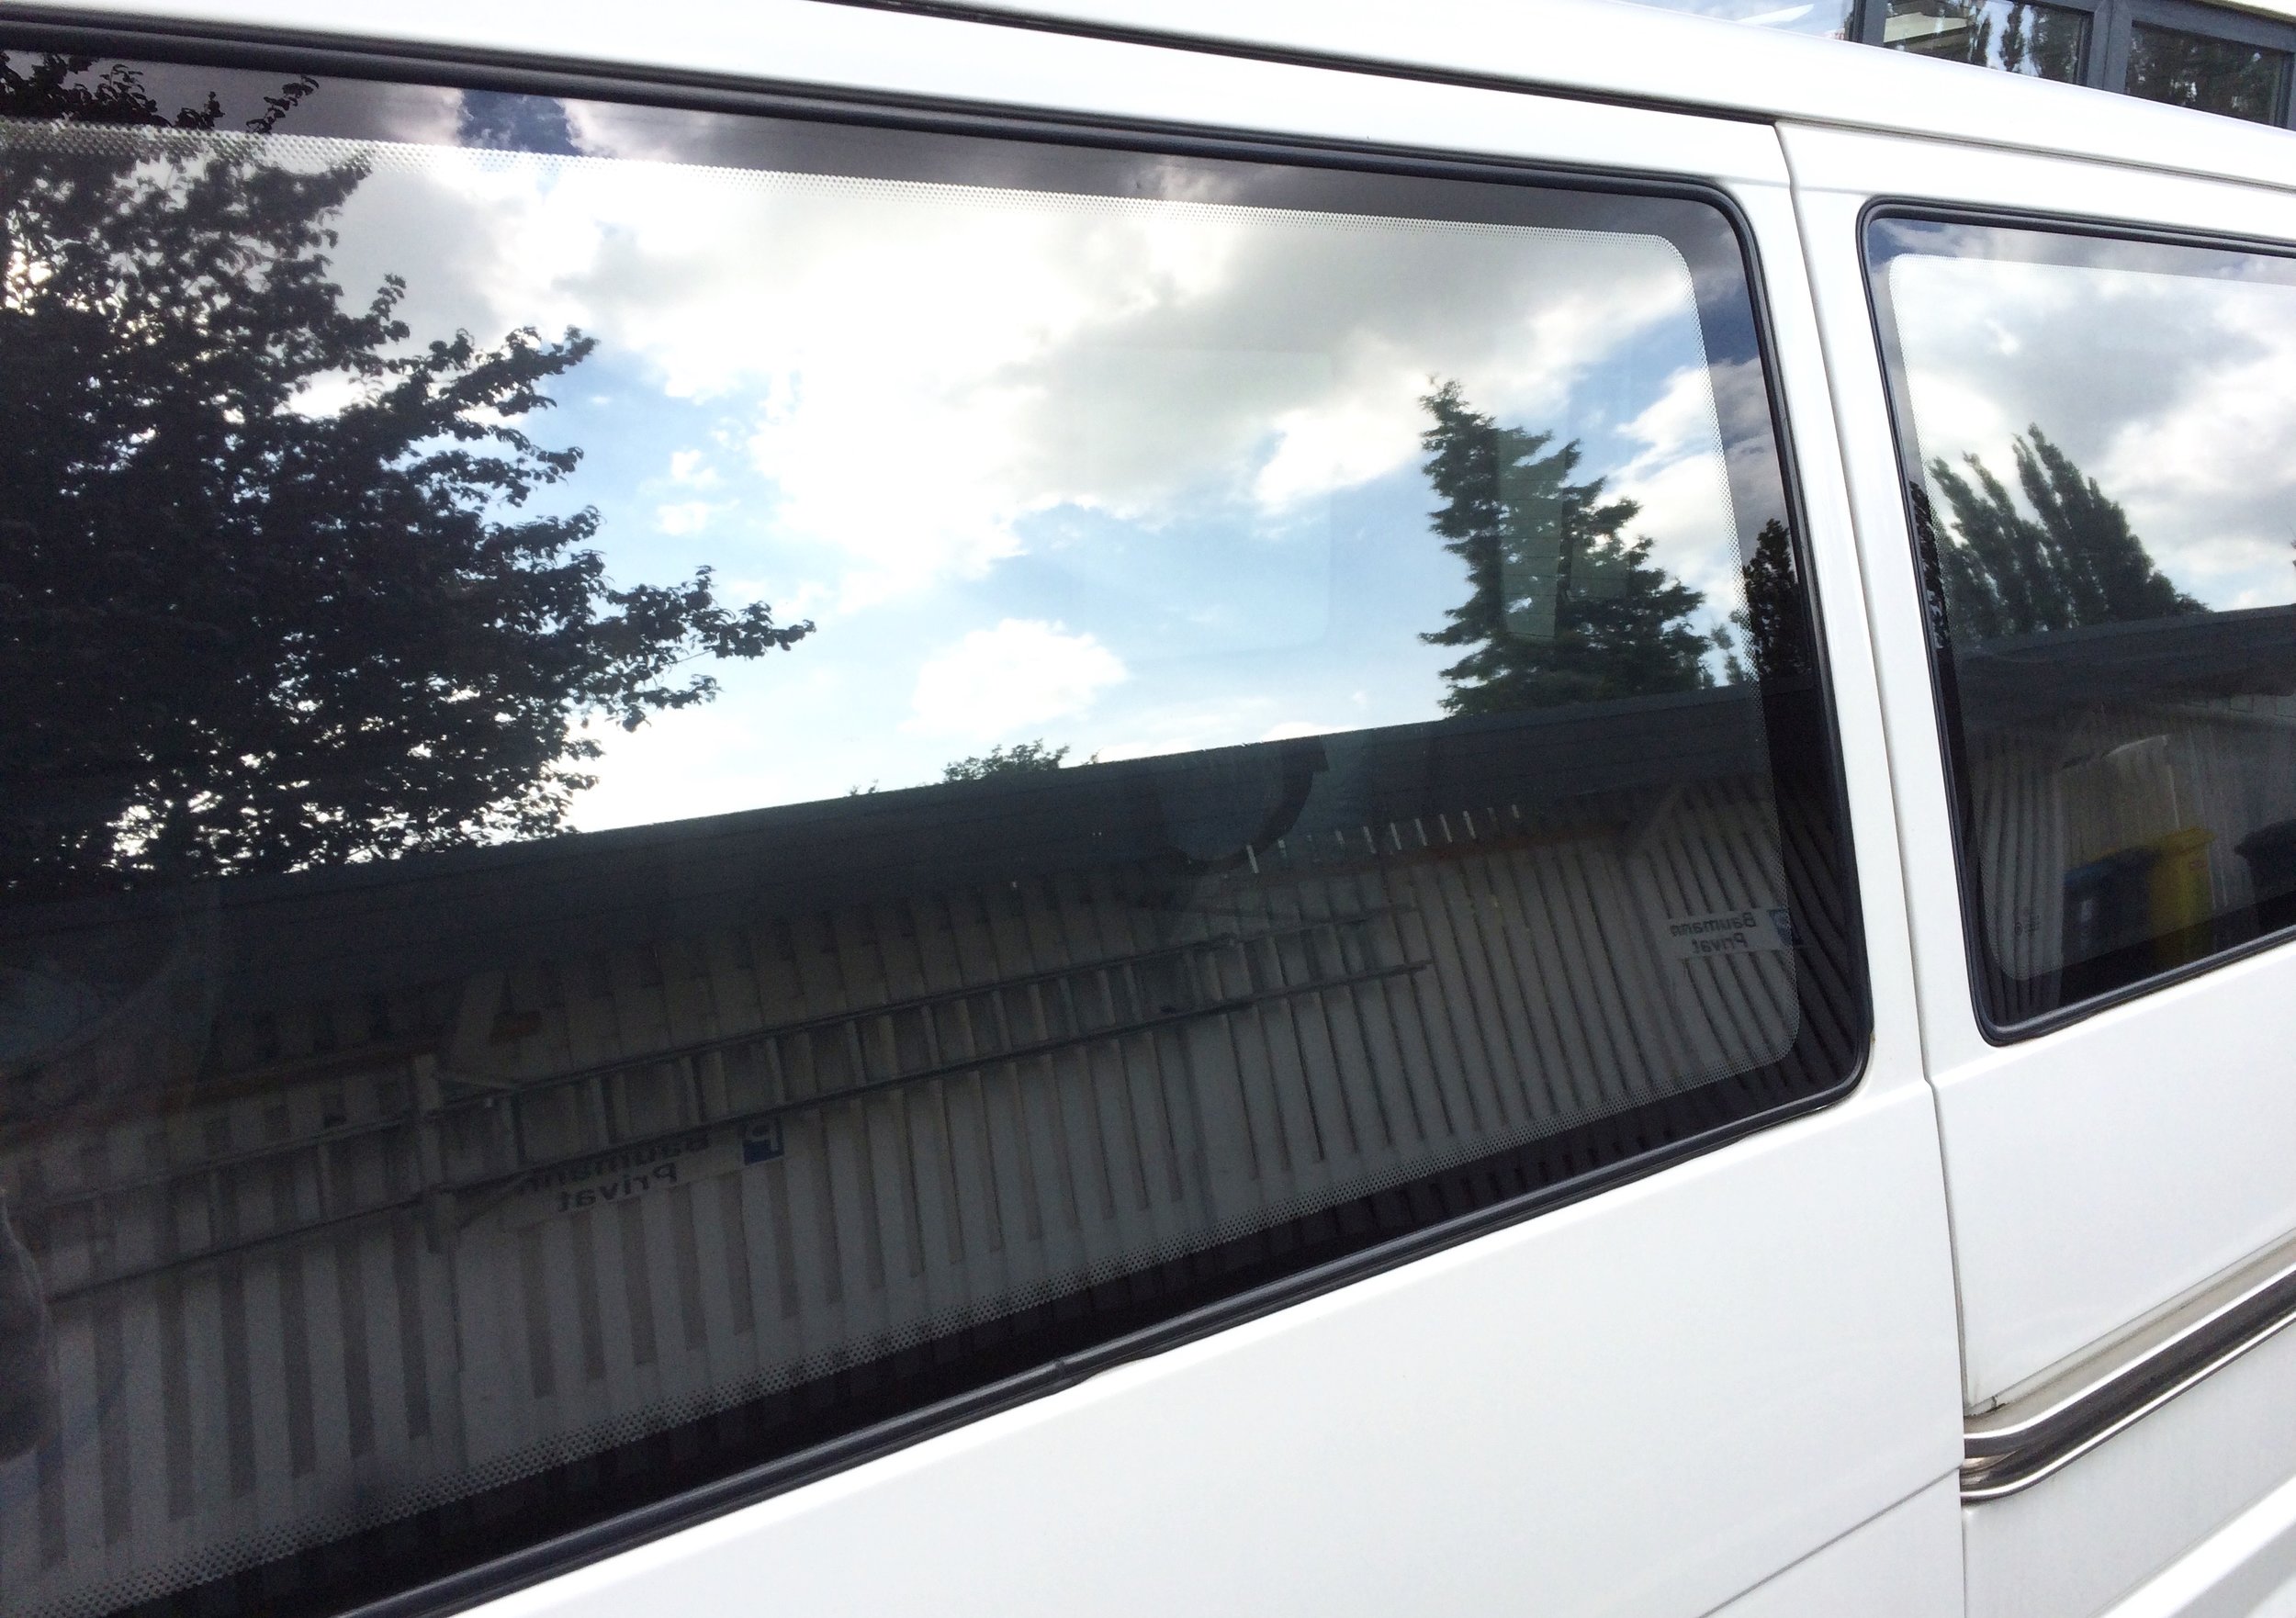
The view is almost completely blocked out by the mirrored window films and shows at the same time a soft reflection of the ceiling, i really love it!
Next step was taking the needed measurements for the planning which was relatively easy, I only had to relax a little with the exactness because of the obvious lack of perpendicularity and all the curves of the bodywork. So I was glad to have saved the old floor panel and wall cladding as stencils later on.
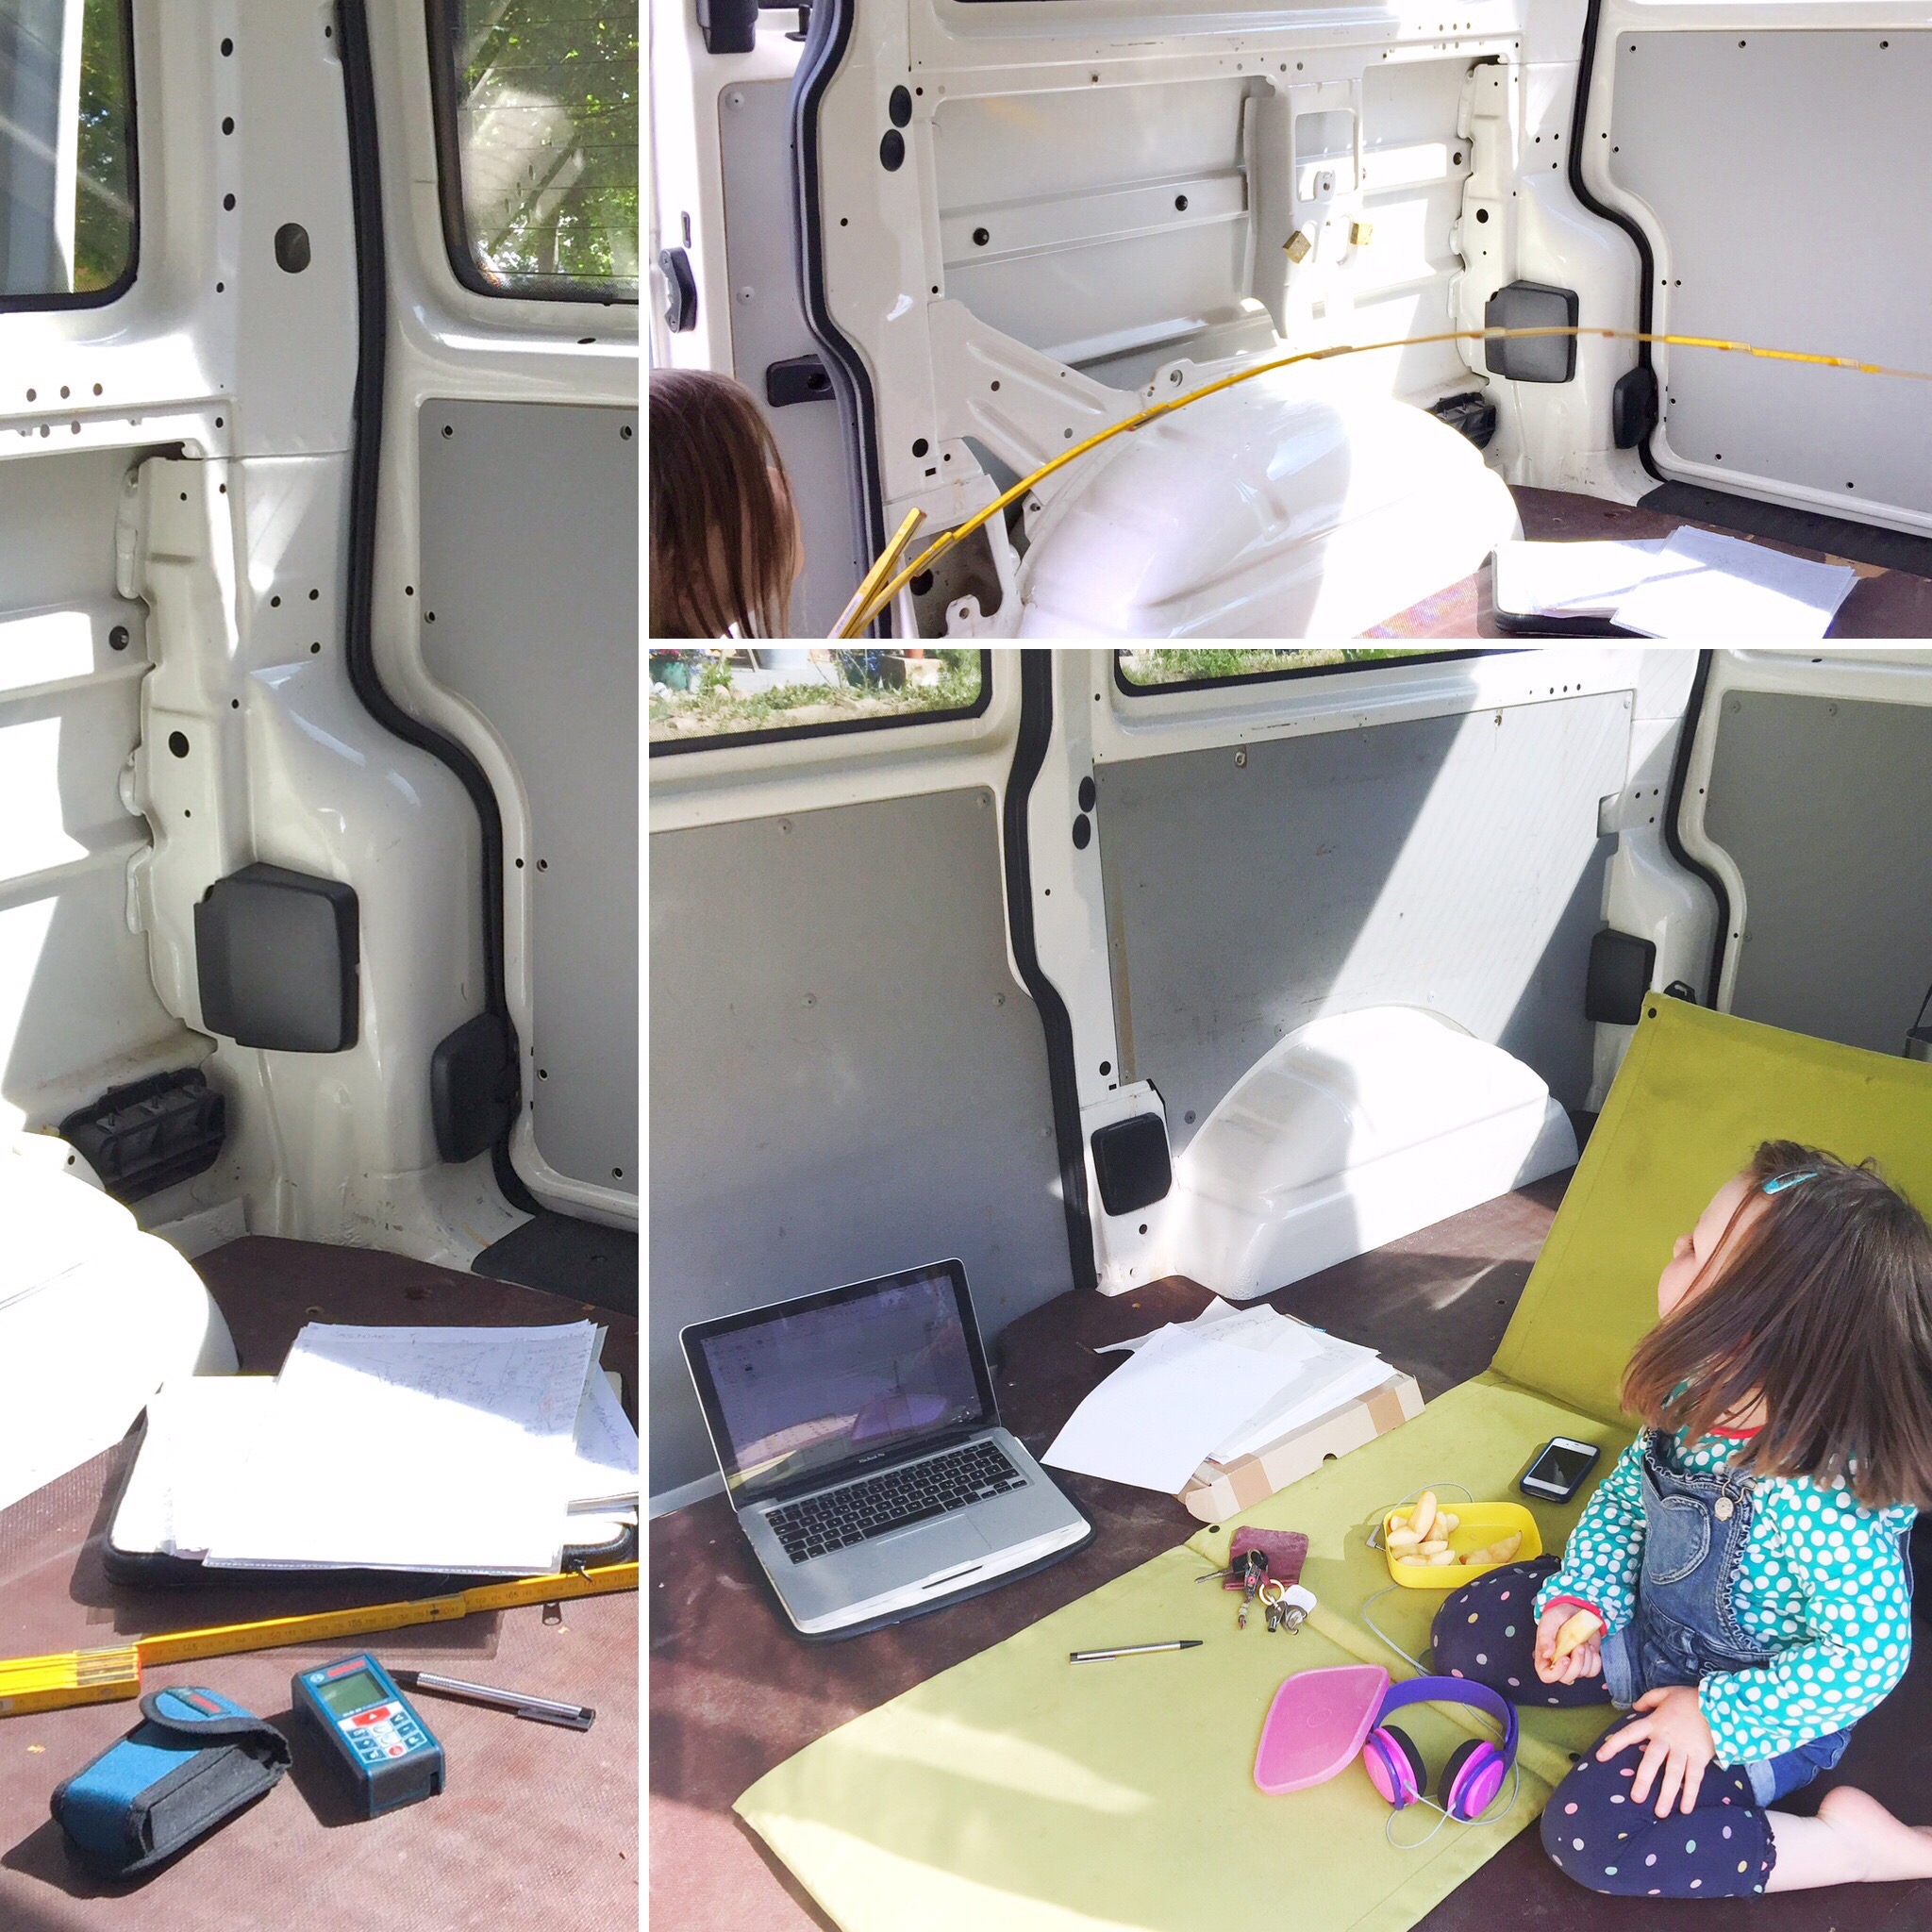
Always a big help, my four year old daughter
After firsthand experience on my road trips last year I knew that more important then a full working van kitchen with seats and table would be (at least for me) a big chill-out area with loads of cushions to relax. A tray table would work well enough because of its multiple possible applications and could be easily stored as well.
Behind the van partition I planned a long simple sideboard, one just the way I would like to have in my living room. The fridge and all the needed kitchen accessories would be stored in it and at the same time it could be used as a countertop when eating inside.
In any case I wanted to preserve the space between my two (!) slide doors at least optional. I never liked the typical van design with a fill-length cabinet on the long side of the van (with only a few exceptions) very much anyway. So I forwent the additional storage space for the benefit of a more spacious room.

As you can imagine as an interior designer I designed the whole interior beforehand up to the very last detail
Off we go!
When it came to insulation I tried (again) an easier way and invested in the self-adhering foam ARMAFLEX which was easy to work with and all without the nasty spray mist of glue! With a little help of my intern it took me about three mornings to complete the whole insulation, which was quicker than I thought.
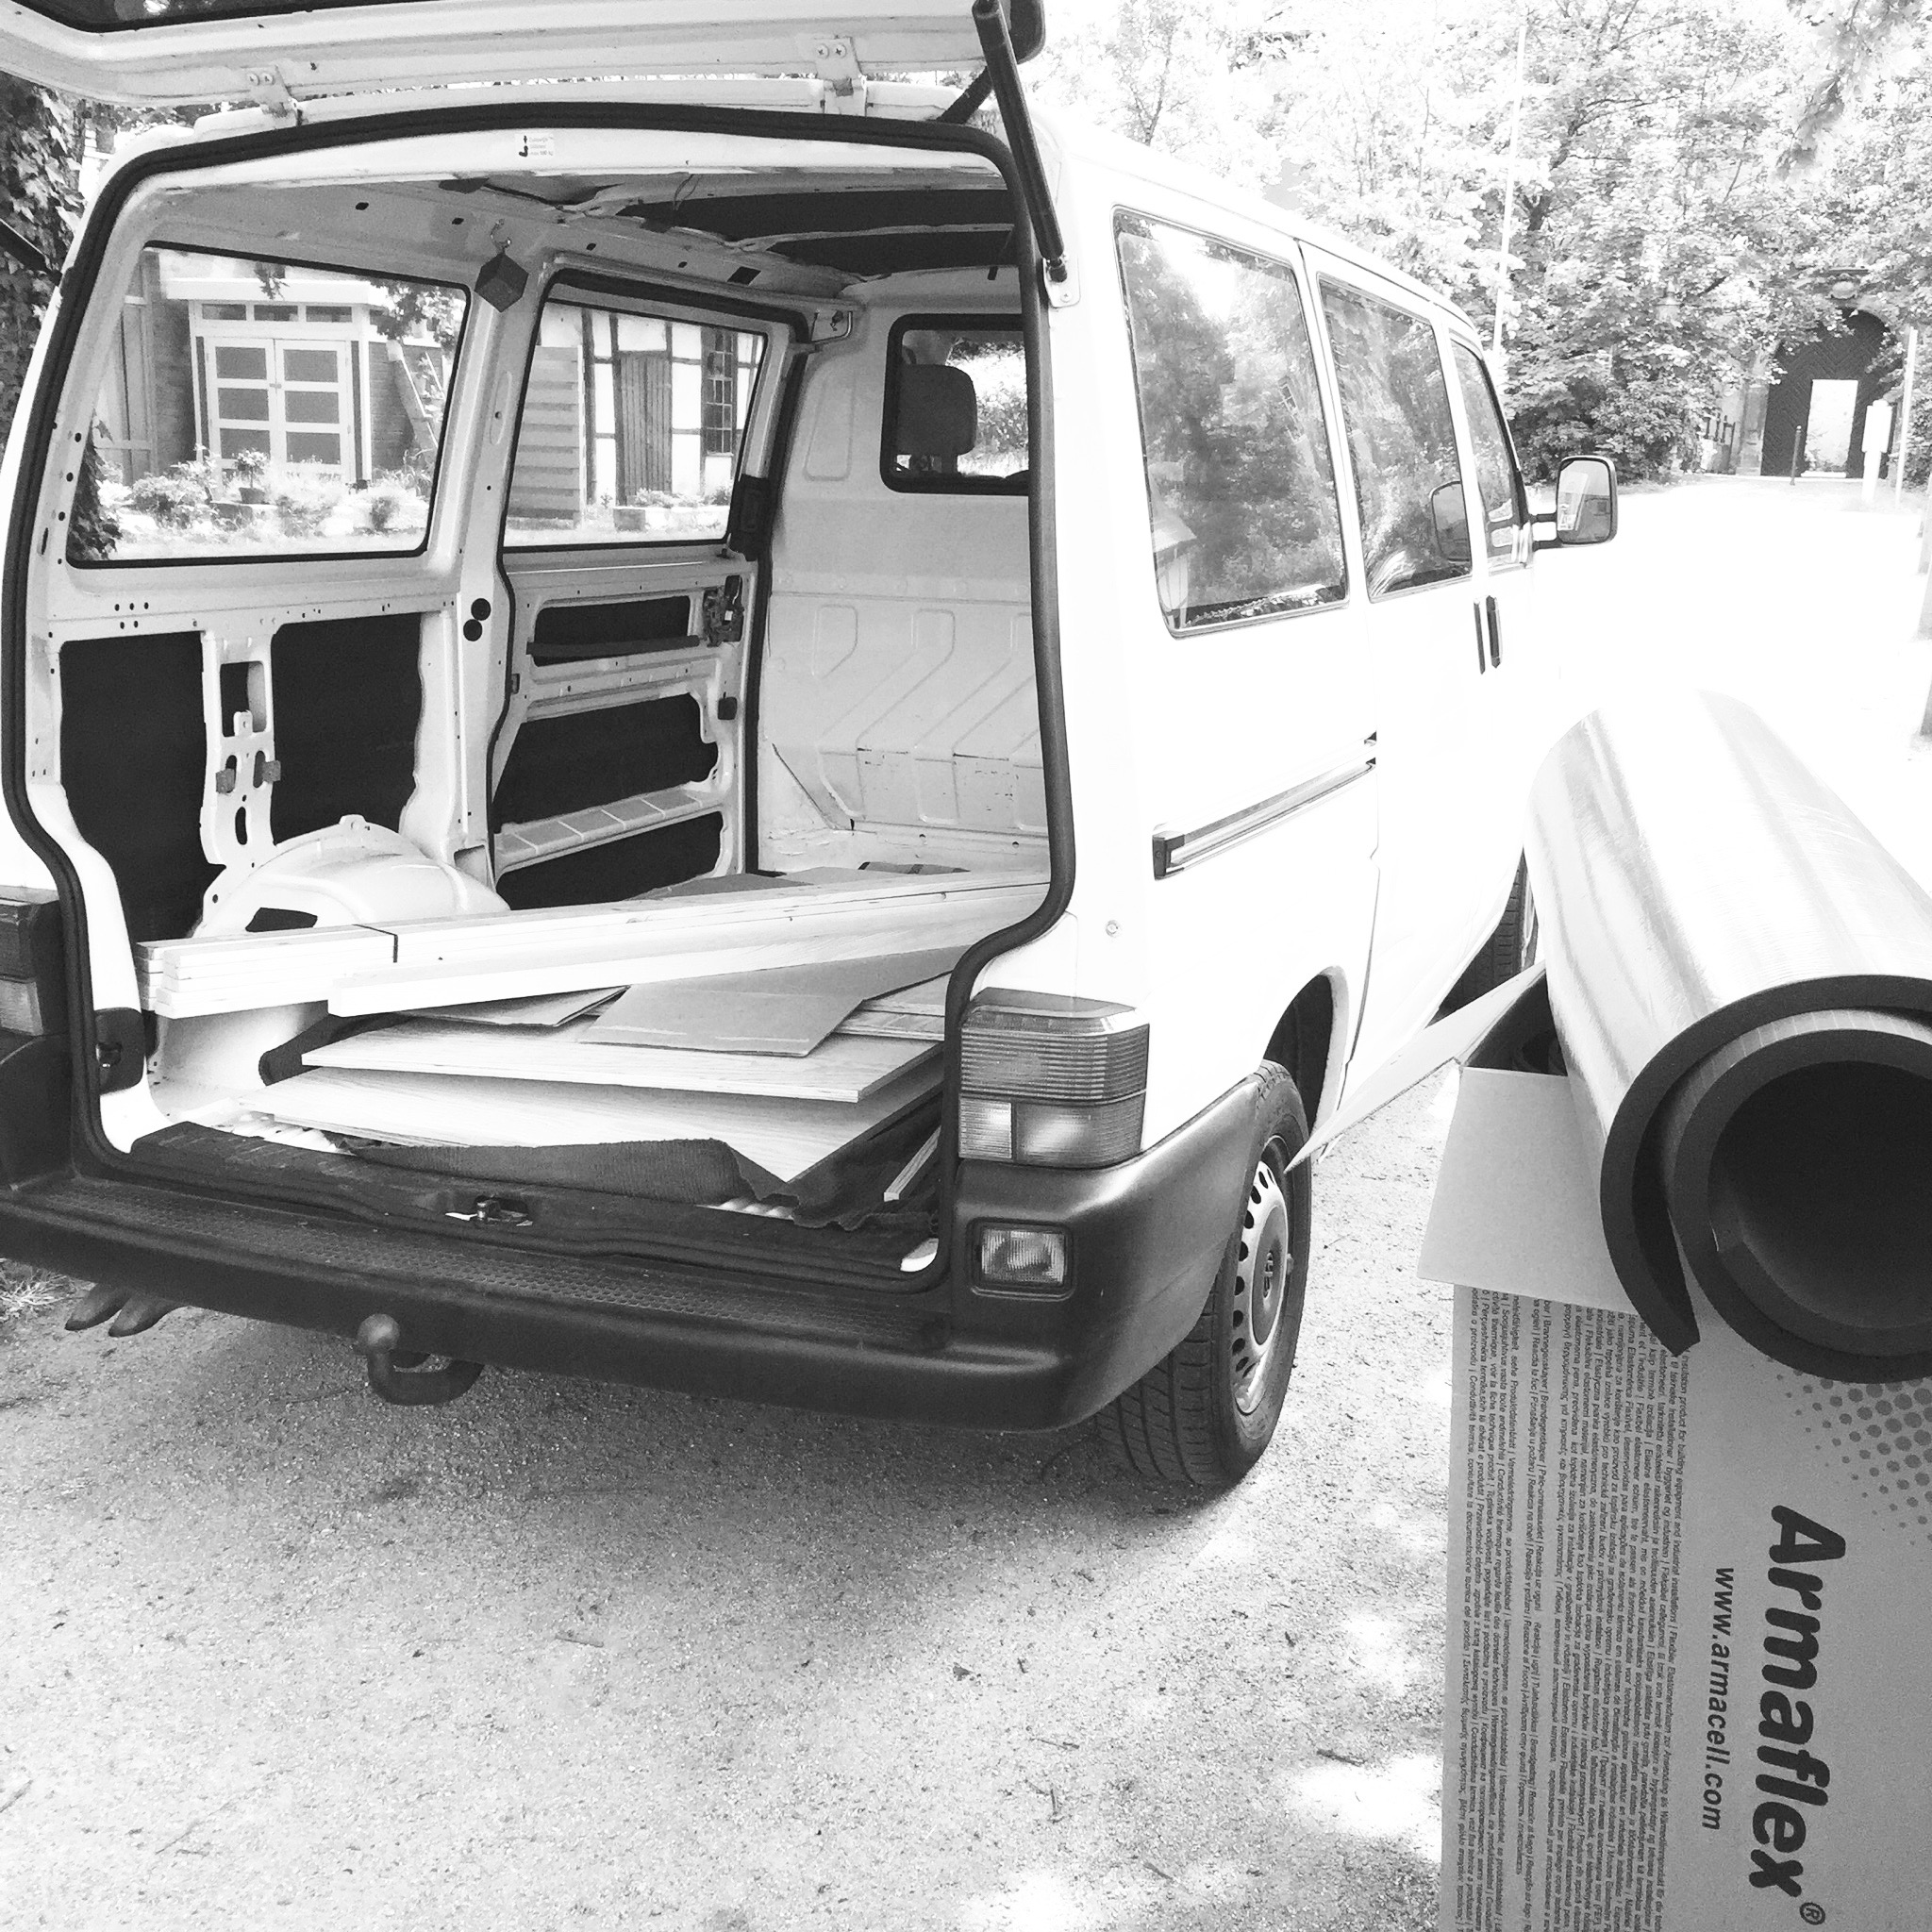
Depending on available space I used layers of 9 and 19mm insulation foam

The most difficult part was the tailgate. How I managed to do it still feels like a miracle to me
A lot more complicated then anticipated was surprisingly the plywood purchase. Originally I wanted to buy from a local dealer three 15mm-plates, but when the time came to choose the most suitable ones there was suddenly no plywood left to choose from. For quality purposes they had decided to get rid of the supply they had on stock. Of course I could have ordered some material but I needed to hand-pick it myself because when using plywood for furnishing purposes you better look at it before you buy it otherwise disappointment could be included...
In the end -right before I started to panic- my sheet anchor was the home depot close by. Here I finally found what I wanted for an acceptable price in no time.

Plywood - still waiting to be cut in size
For the final woodcut I got help from a local carpenter who sawed everything for me beforehand. Quite bold when you think of all the mistakes I could have done in my planning and measurements. But this way I could go without a table saw and to be honest, I just wanted the job to be done!

Front and drawer of the soon-to-be sideboard
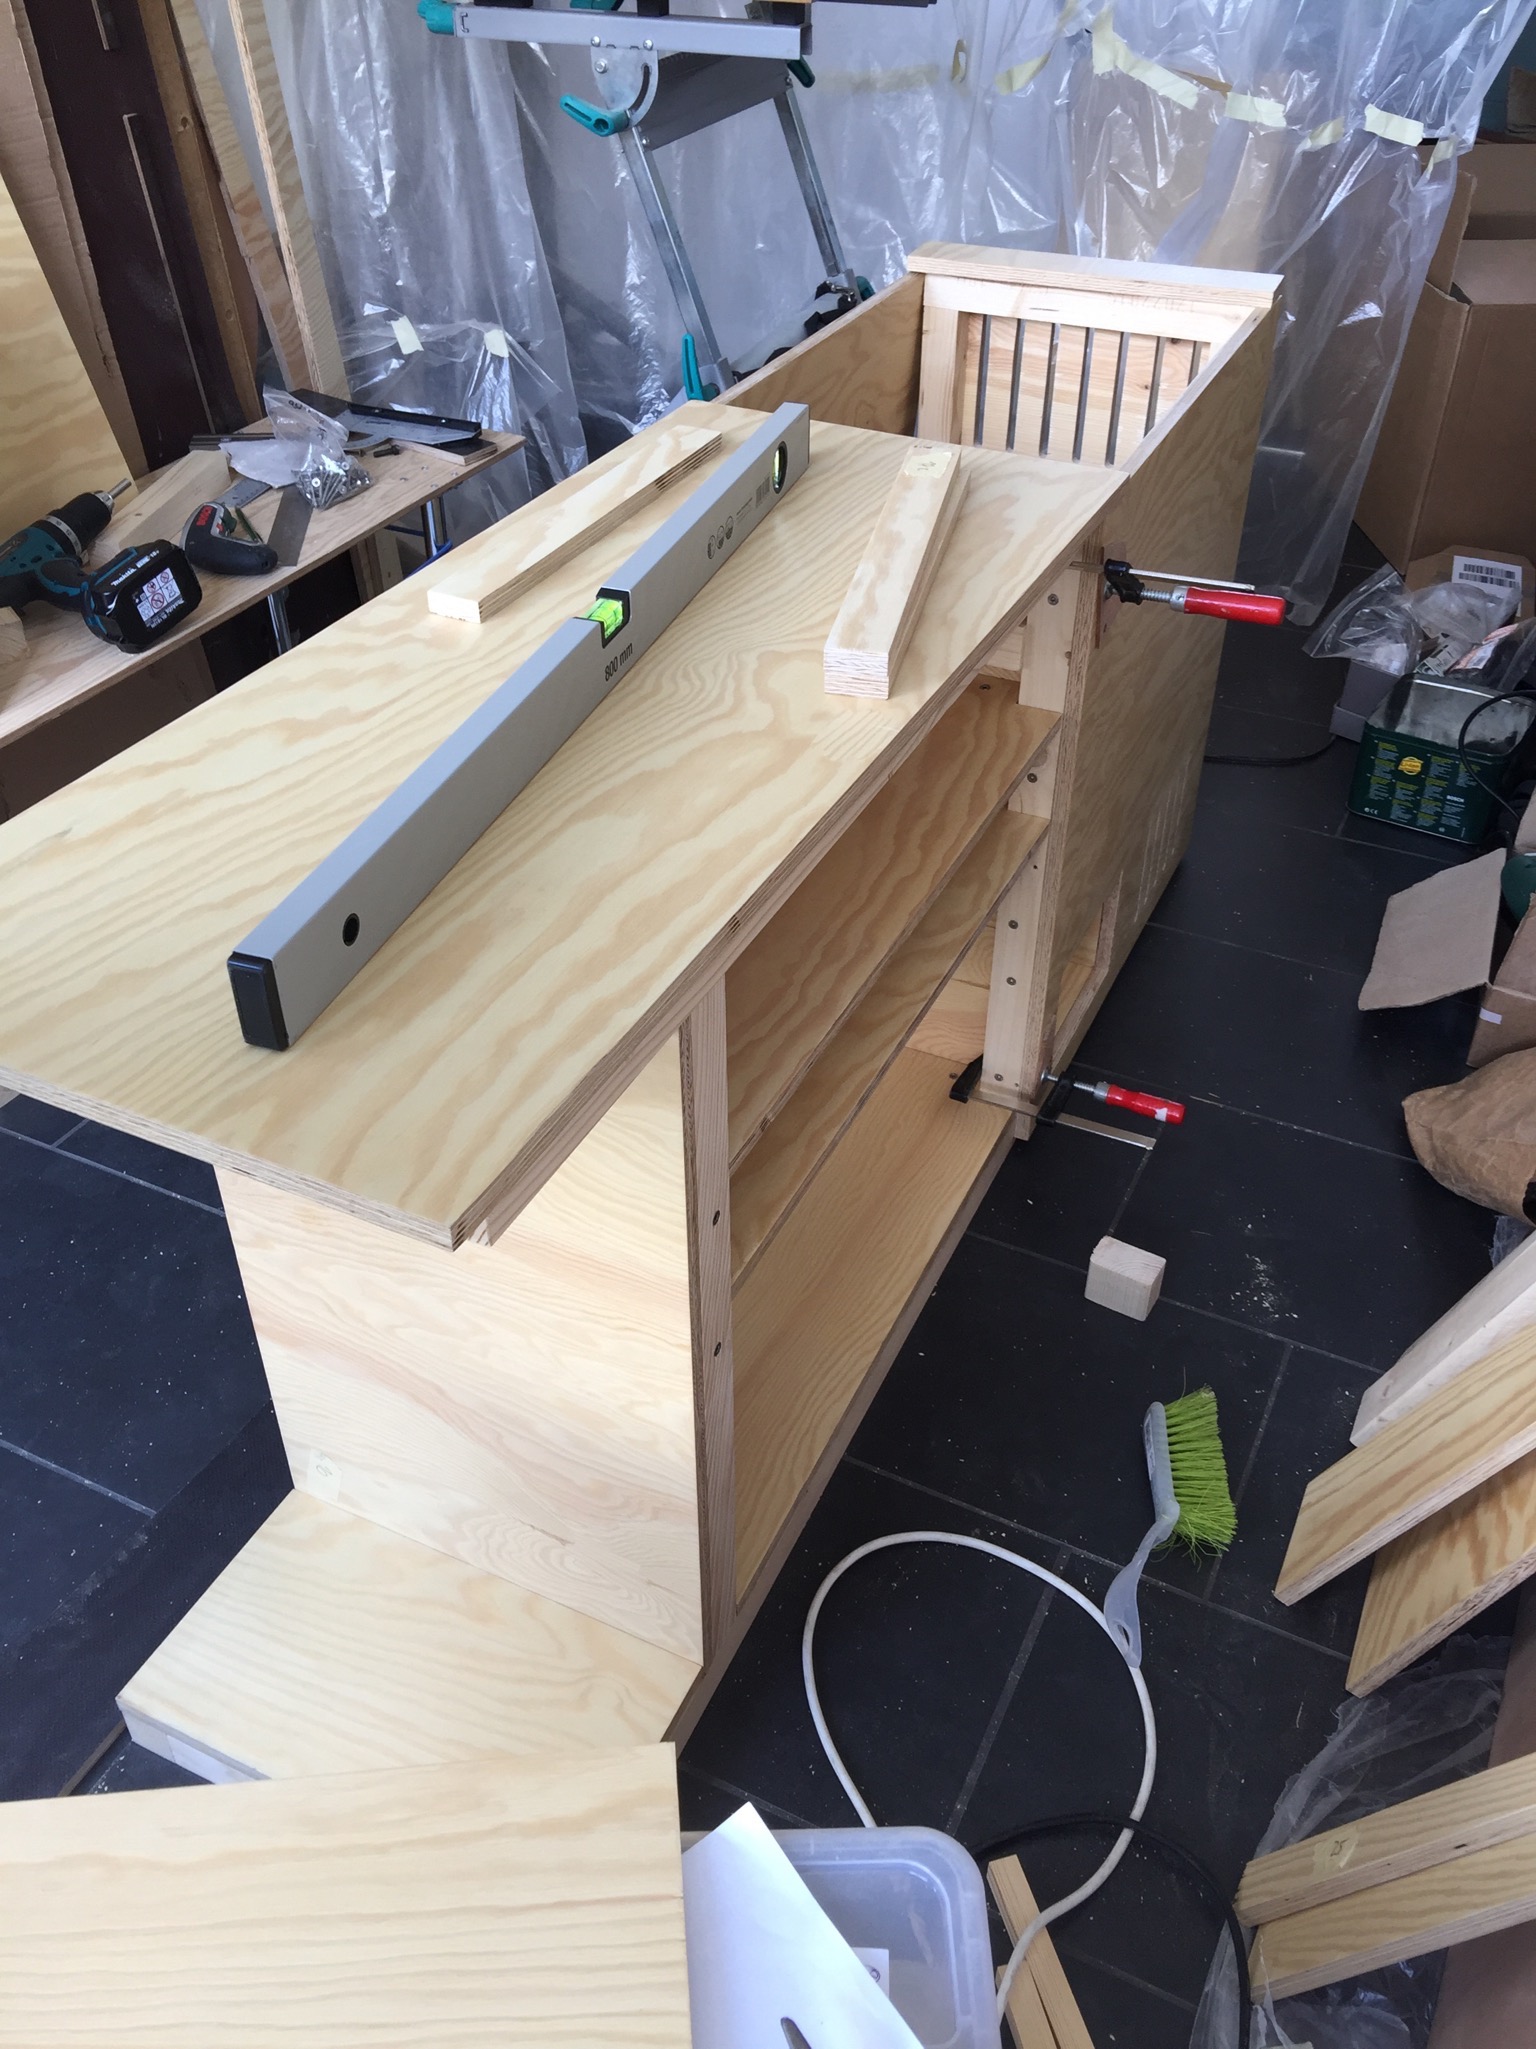
For working reasons I decided to build in frame construction...

In the end I didn't need to use the two construction timbers you can see in the photo right below
Finally, the first furniture had been finished, but not until the second attempt. After the first assembly I would have had to buy a new cover plate, so inaccurate was the result. Instead I took the whole cabinet apart and reassembled it, this time beginning with the deck plate. And it worked, finally a rectangular wardrobe stood in front of me, who would perfectly fit in the intended place in the van!

I like leather handles for opening the closets, I find them simple and beautiful (and they are so easily made!)
In hindsight, I only regret to have mounted the hinges visibly, instead of going to the trouble of inserting them with a chisel. Later, when I found out how easy this work would have been done, the hinges were already mounted and it was too late for any change.
Construction measures
After successfully taking up the carpentry at home, it was time for the preliminary work of the van electrification. I was lucky to have found a campervan specialist who assured me to install a slightly optimized version of my -laboriously thought out, in hours of work (and which I was now too afraid of to implement)- electricity setup. And he would do it on time, before the season was over. Yay!

My RAUMKUNSTBUS on his way to the camper van specialist, waiting for a new roof hatch and it's electrification
To be energy-self-sufficient right from the start we extended the system with the component of a solar module. But the part I was most excited about, was the installation of the roof hatch. Because there're no openable windows in the rear area it was important to do something for the ventilation. And the idea of seeing the sky, while lying inside, wasn't bad either!
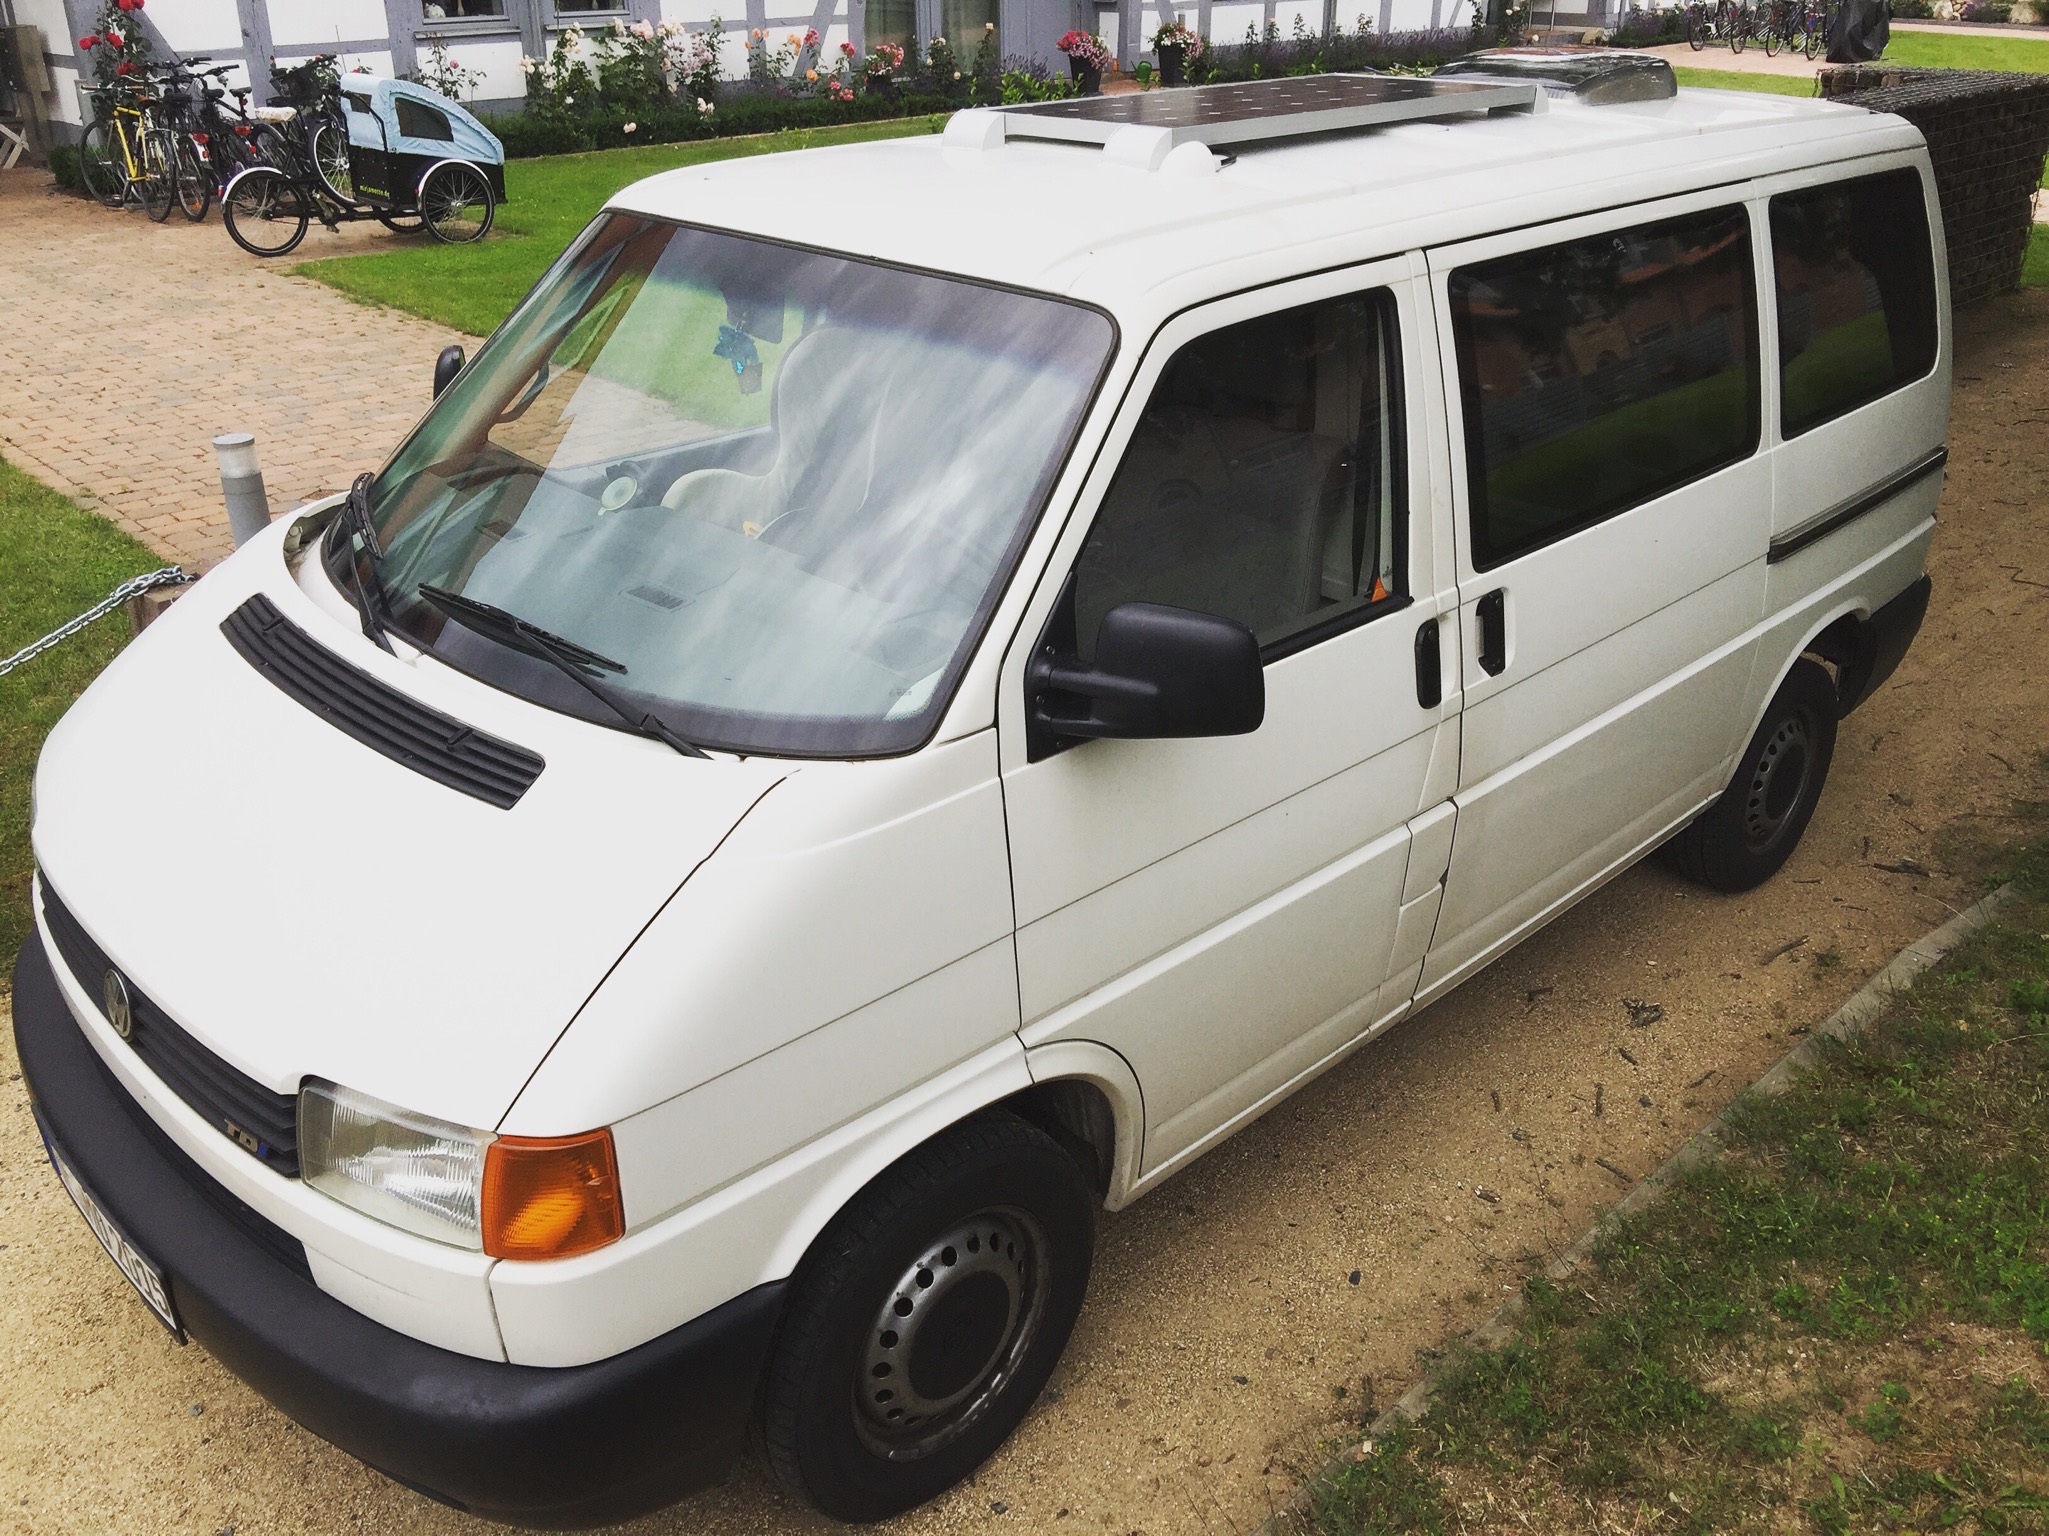
Now, with it's new installations on the roof, the van looks already like a real camper van to me (at least from the outside)

Clearly worth the price: the sky view through the new installed roof hatch
In retrospect, this was the best decision ever, even if it was cost-intensive. Since I have no power consumers apart from my compressor refrigerator and the regular charging of the usual devices (telephone, music box, ebook reader etc.), I am now completely self-sufficient with my 100 Wp solar module, which I find remarkable, since I read in my research of 2-3 days max, until the on-board battery must be recharged.

View from above: The Solar module and the new roof hatch
The flooring
One of the main reasons for doing the van conversion was because I wanted to see whether my way of interior design, my understanding of shapes, colors, proportions and design elements, which transforms an ordinary interior into a feel-good space, can be applied to the specific and limited space of a VW transporter. This included the fact that I wanted -like on any other interior project of mine- in an effortless way to combine modern design with a carefully matched choice of colors and materials.
For example, I would have loved to find a way to integrate cement tiles in some form into the design. Due to the high weight however, this was virtually impossible to implement. So every time, when I saw a beautiful floor, I couldn't stop thinking about how to solve this problem.

Here another beautiful floor with cement tiles, seen in brunswick
Before I had already described my flooring-decision-dilemma, so when I saw this floor (see photo above) at an appointment, I had the idea: I would take my -so far favored- material, a strong quality plywood (Koskisen) with much lower evaporations then usual, and then upgrade it with a sprayed-on cement tile pattern!
Fortunately, I was able to convince my creative teenage daughter to take the time-consuming work of a stencil-making. And she did a great job.
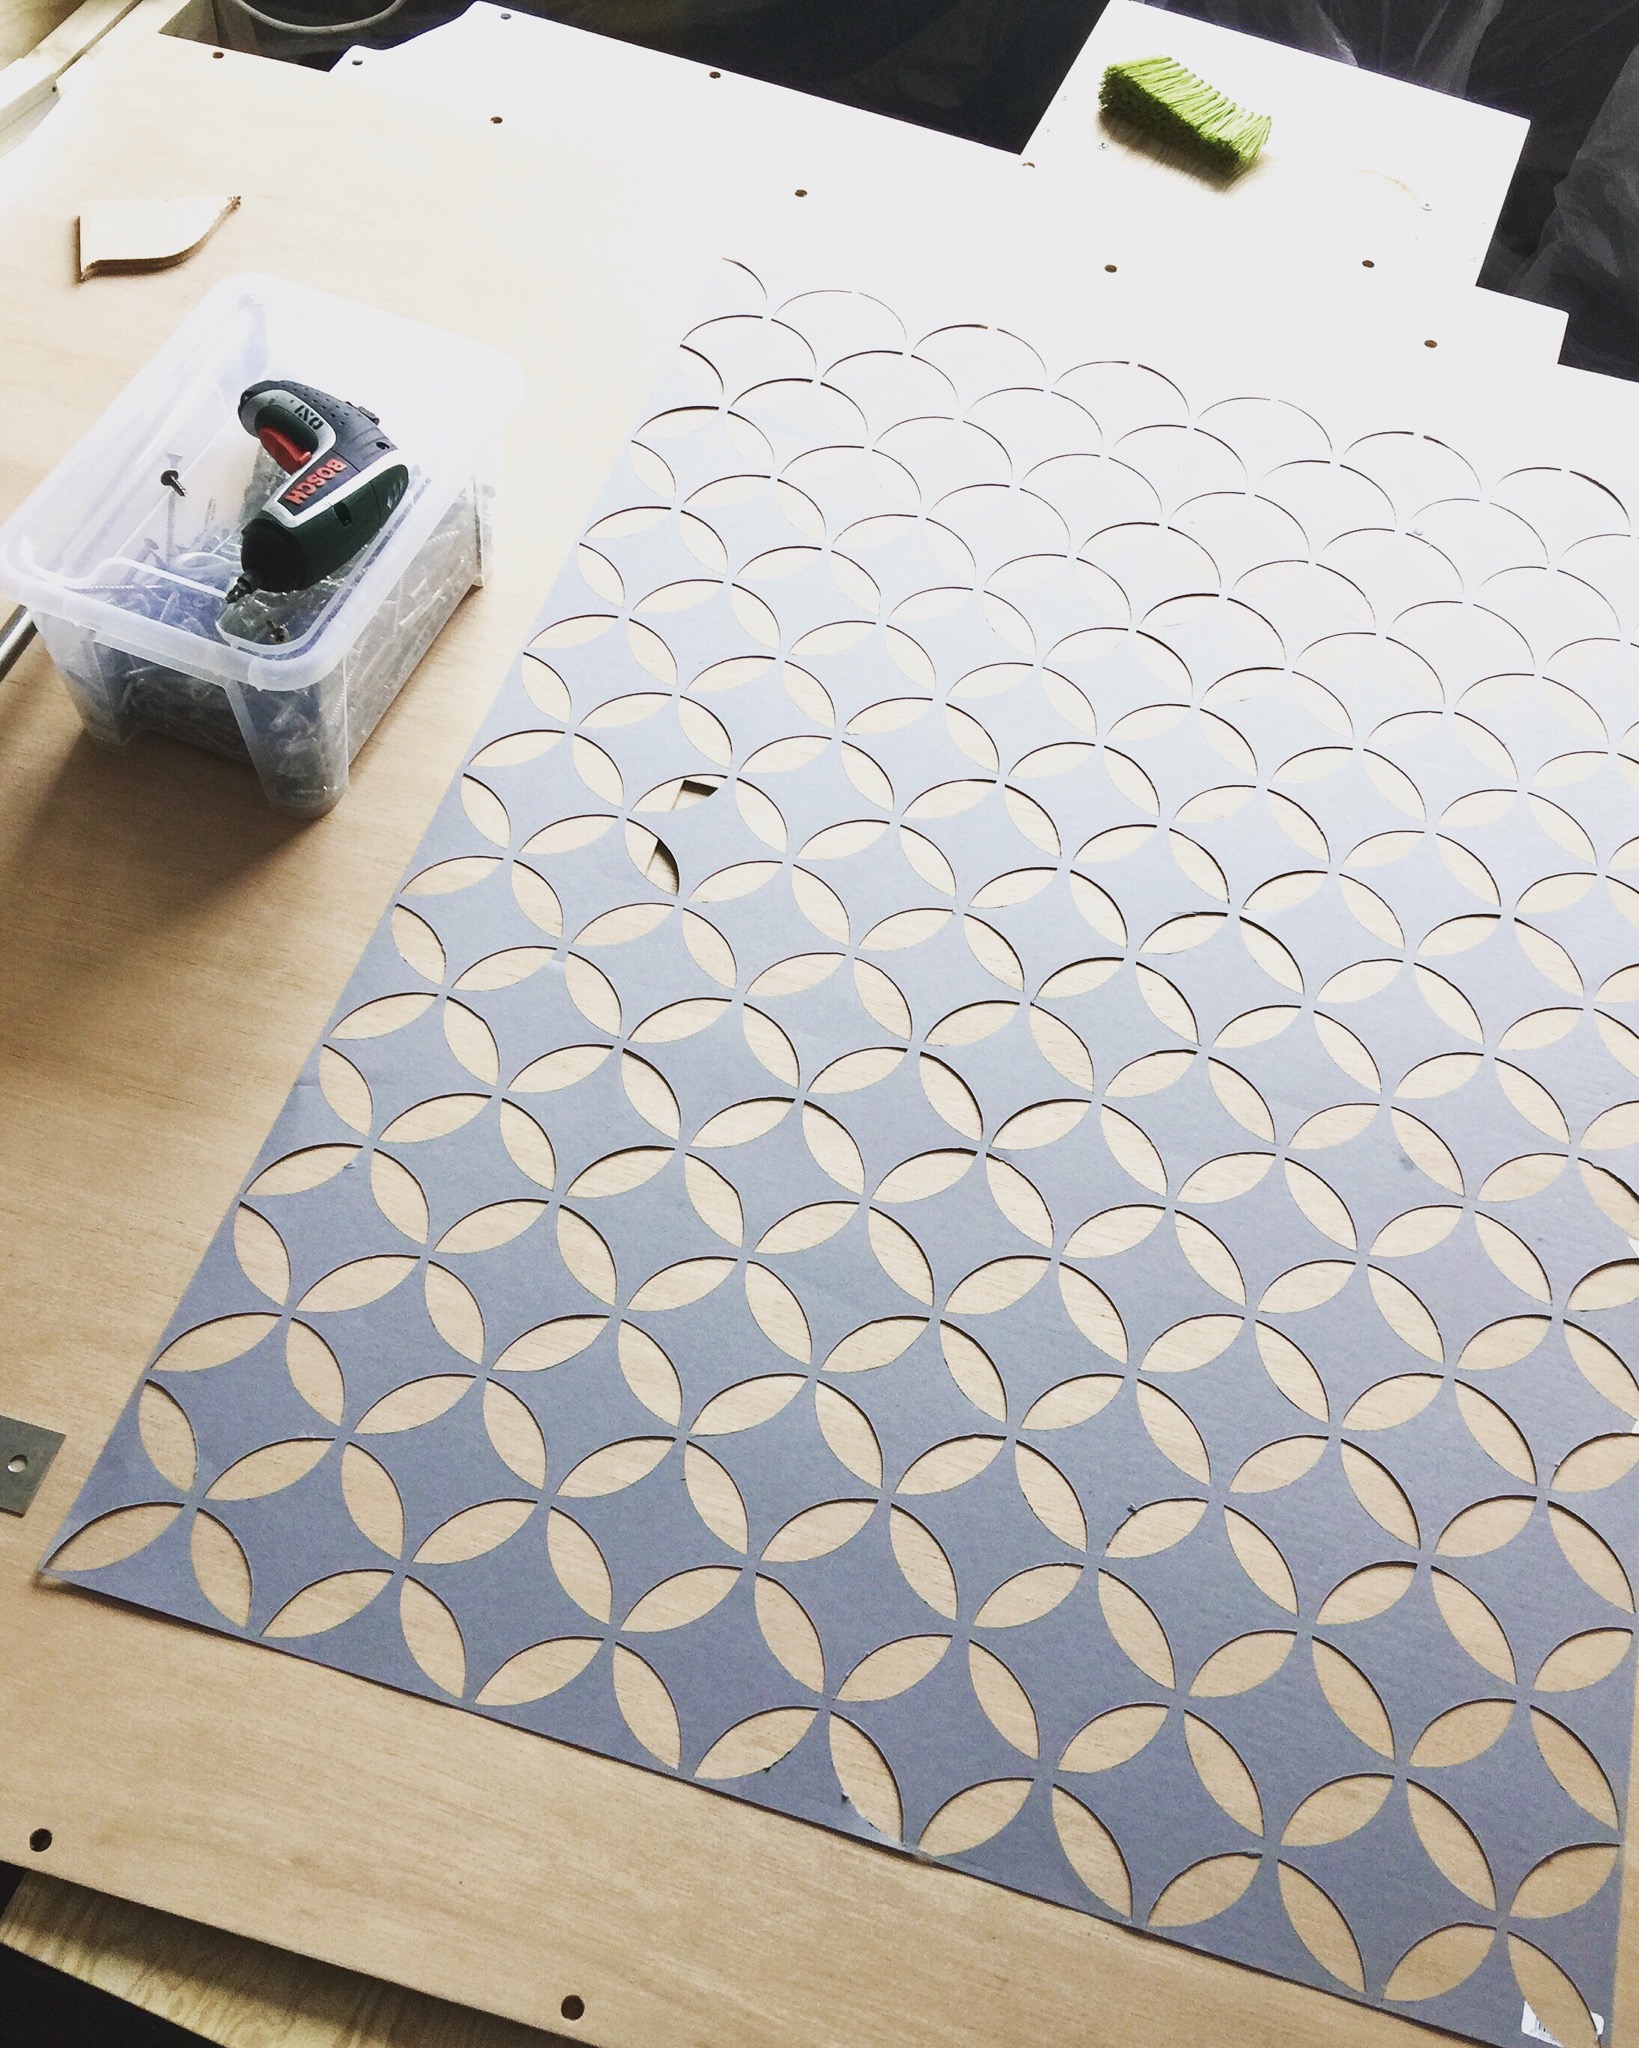


Unlike me, who had great difficulties in the beginning with the job of striation free spraying because I simply forgot to weigh down the newspapers so they wouldn't fly of while using the can of spray paint. After I did the first half of the floor I found a way to solve this problem, so the second half of the job went just fine (which nobody will ever see because it'll be covered by the bed and cupboard).

Despite the spray mist I love the result!
The sideboard
Building the sideboard was much easier for me because I already learned so much from building the cupboard. Step by step I cut my squared timber to lengths, mounted frames and plywood after waxing it with a special UV-resistant wax to prevent the pine from darkening, sawed openings and mounted handles. And solved problems. Especially I solved problems. When I think of it now, I can't shake of the feeling, that solving problems was actually 50% of what I did (and guess what, the other 50% I invented the problems I later needed to solve...). For example the back of the drawer needed to be shortened for going in (because I forgot to consider the dimensions of the framework), squared timber where cut too short (which I could luckily hide from sight), drop leafs had to be divided to open properly, shelfs wouldn't go in smoothly because I calculated wrong and -if nothing else- I underestimated the size of my fridges compressor, so I had to chisel a much larger space beneath the fridge into the framework. The list could go on and on, after a while I got so exhausted by it that I finally decided to relax a little and try a more giveashit-Point of view. That helped. To thrive towards perfection may be nice but not necessarily helpful, at least not for me. Best lesson so far!


The main part of the sideboard didn't get a rear wall to save weight and win space. The louvers are for for the fridge which is accessible by an opening from above. And I build a small open compartment next to the compressor to use every available space.

Finally in it's place - yet still without the final e-installation and a drawer which still could't close properly because of a wrong handle-bolt
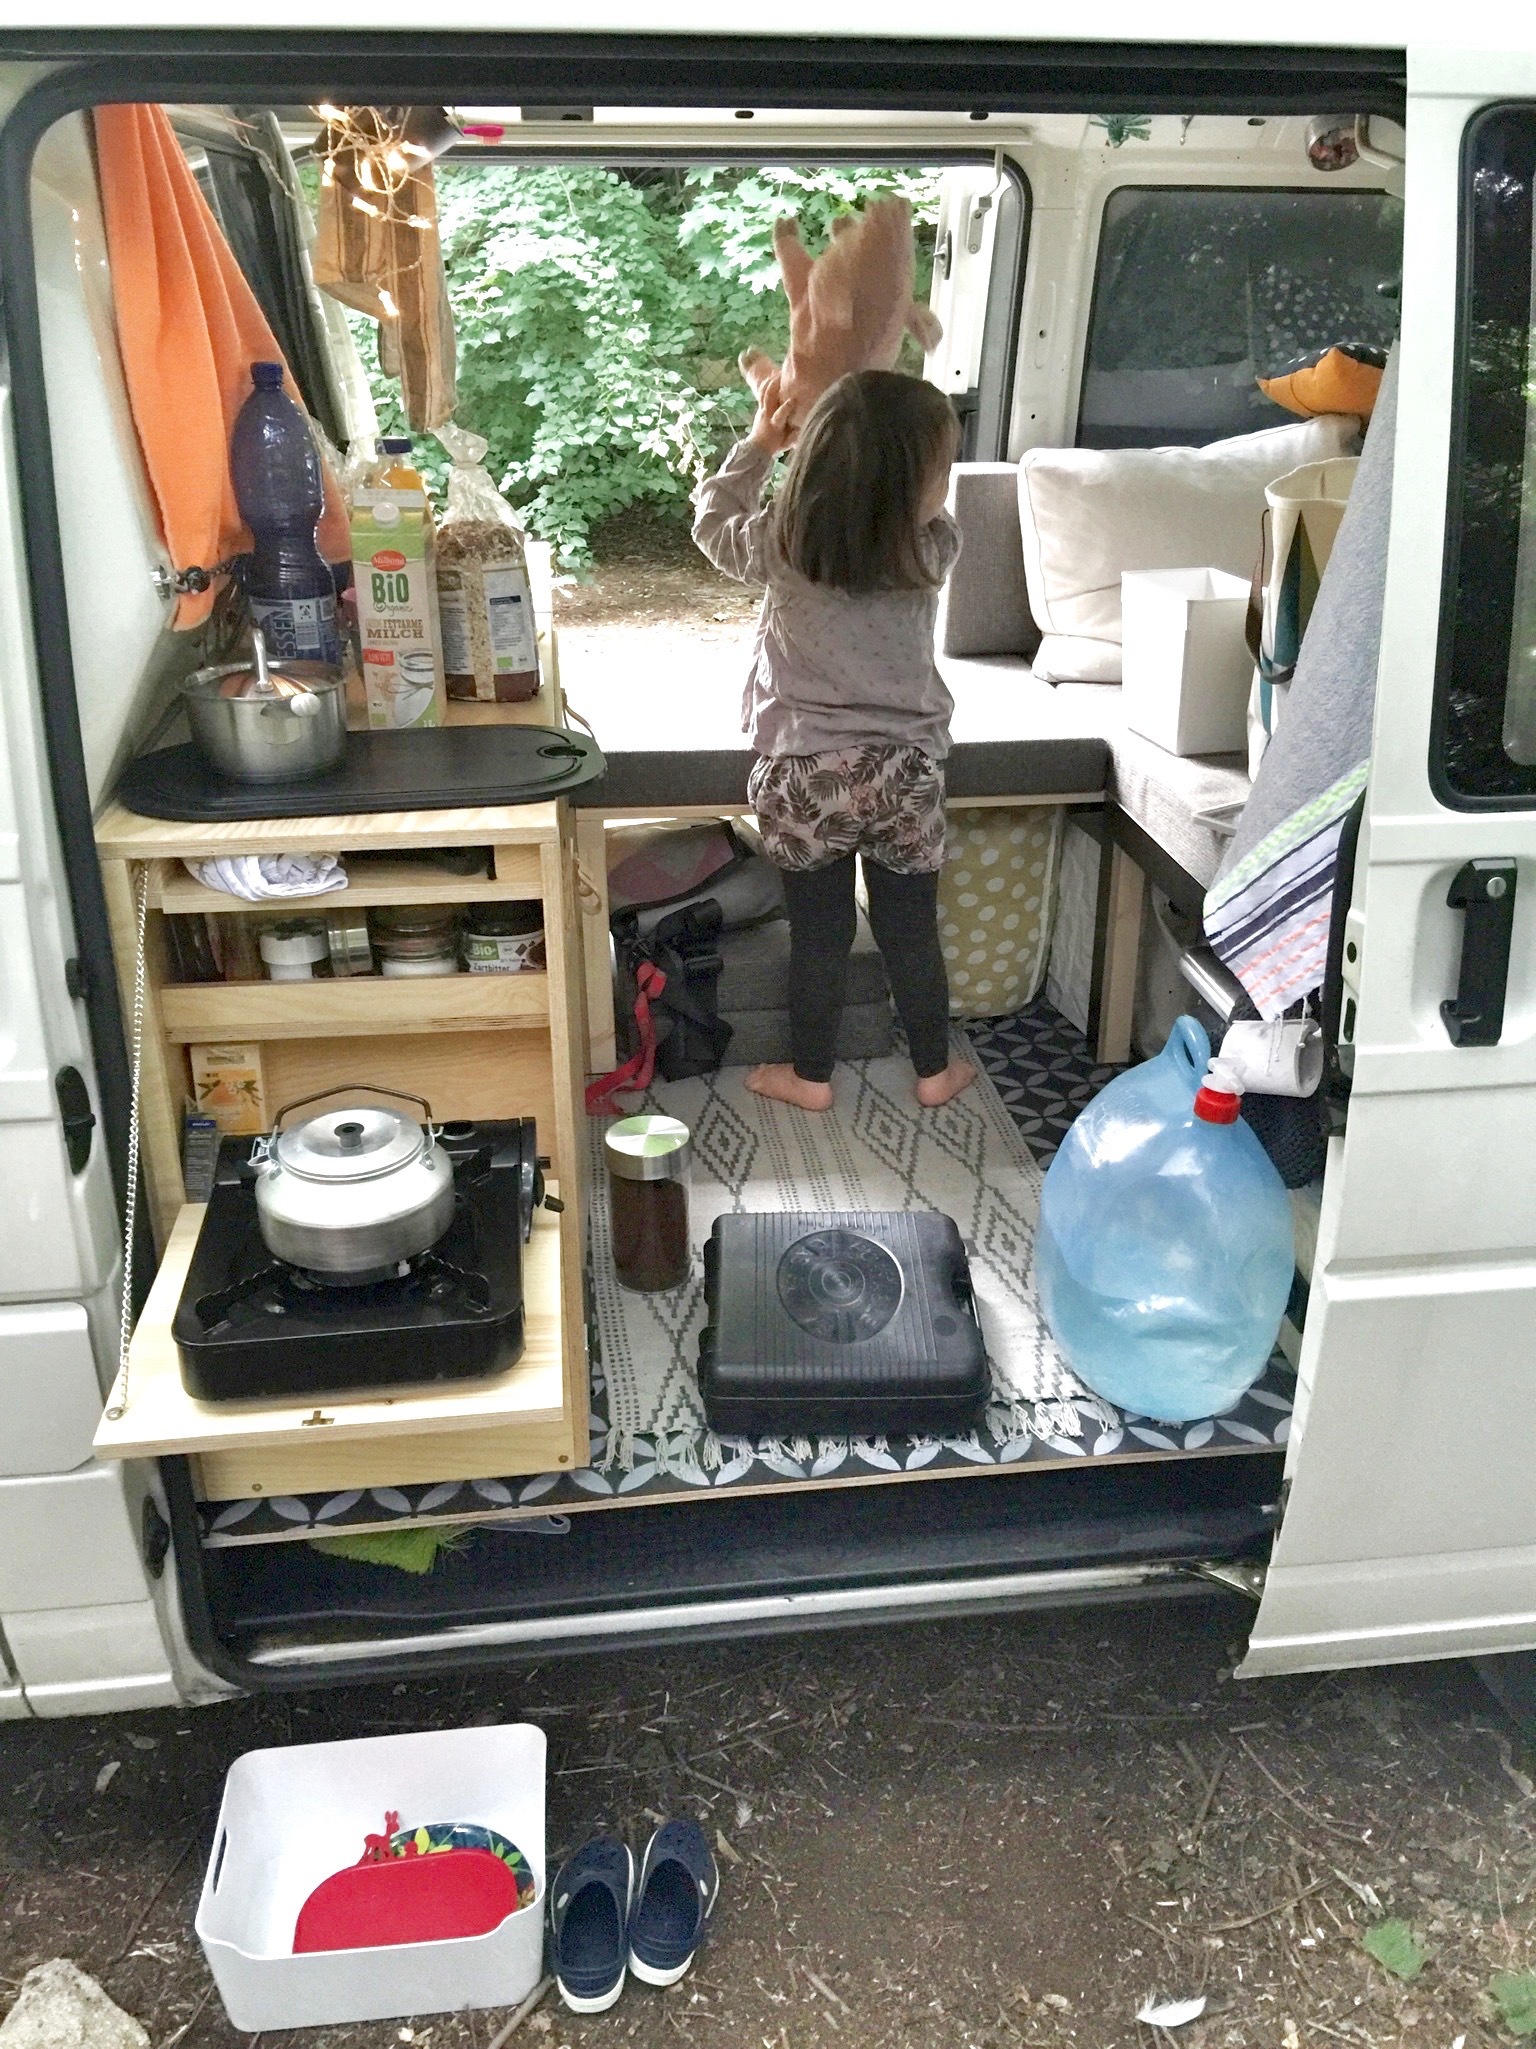
When planning the interior I decided right from the start to go without a fixed sink and stove. I could't imagine myself cooking or washing dishes in this small space, I prefer doing so in the open so I decided to go with the flexible-sink-and-water-canister-option and the combination of my old school trangia-spirit-burner and a small butane-stove. The latter has its place in the side of the sideboard. Here I've installed a small kitchen space which I can also use, standing outside the van.

The hatch is fixed in position by a simple chain. Beside the stove the kitchen compartment is big enough for spices, towels, oil and other cooking stuff
The fridge
I really think a quiet fridge with low energy consumption is worth some money! So I was really happy when I found out that the Waeco CoolMatic CB 40 not only seemed to meet these requirements but also had the right dimensions to fit in my 40cm-sideboard. I even found a refurbished one at a discount because of some minor scratches, which nobody will ever see, when installed inside the furniture.

In fact this Build-In Refridgerator is often used on boats
With a capacity of 40l the fridge is comfortable big for our food and even big sized bottles. I think the top mount is really clever, because the cold can't escape that fast when opening the box. The position of the compressor could be changed, but for me it wasn't necessary, the position was fine. For ventilation purposes I placed it on the right side of the sideboard and sawed some linear holes into the plywood.
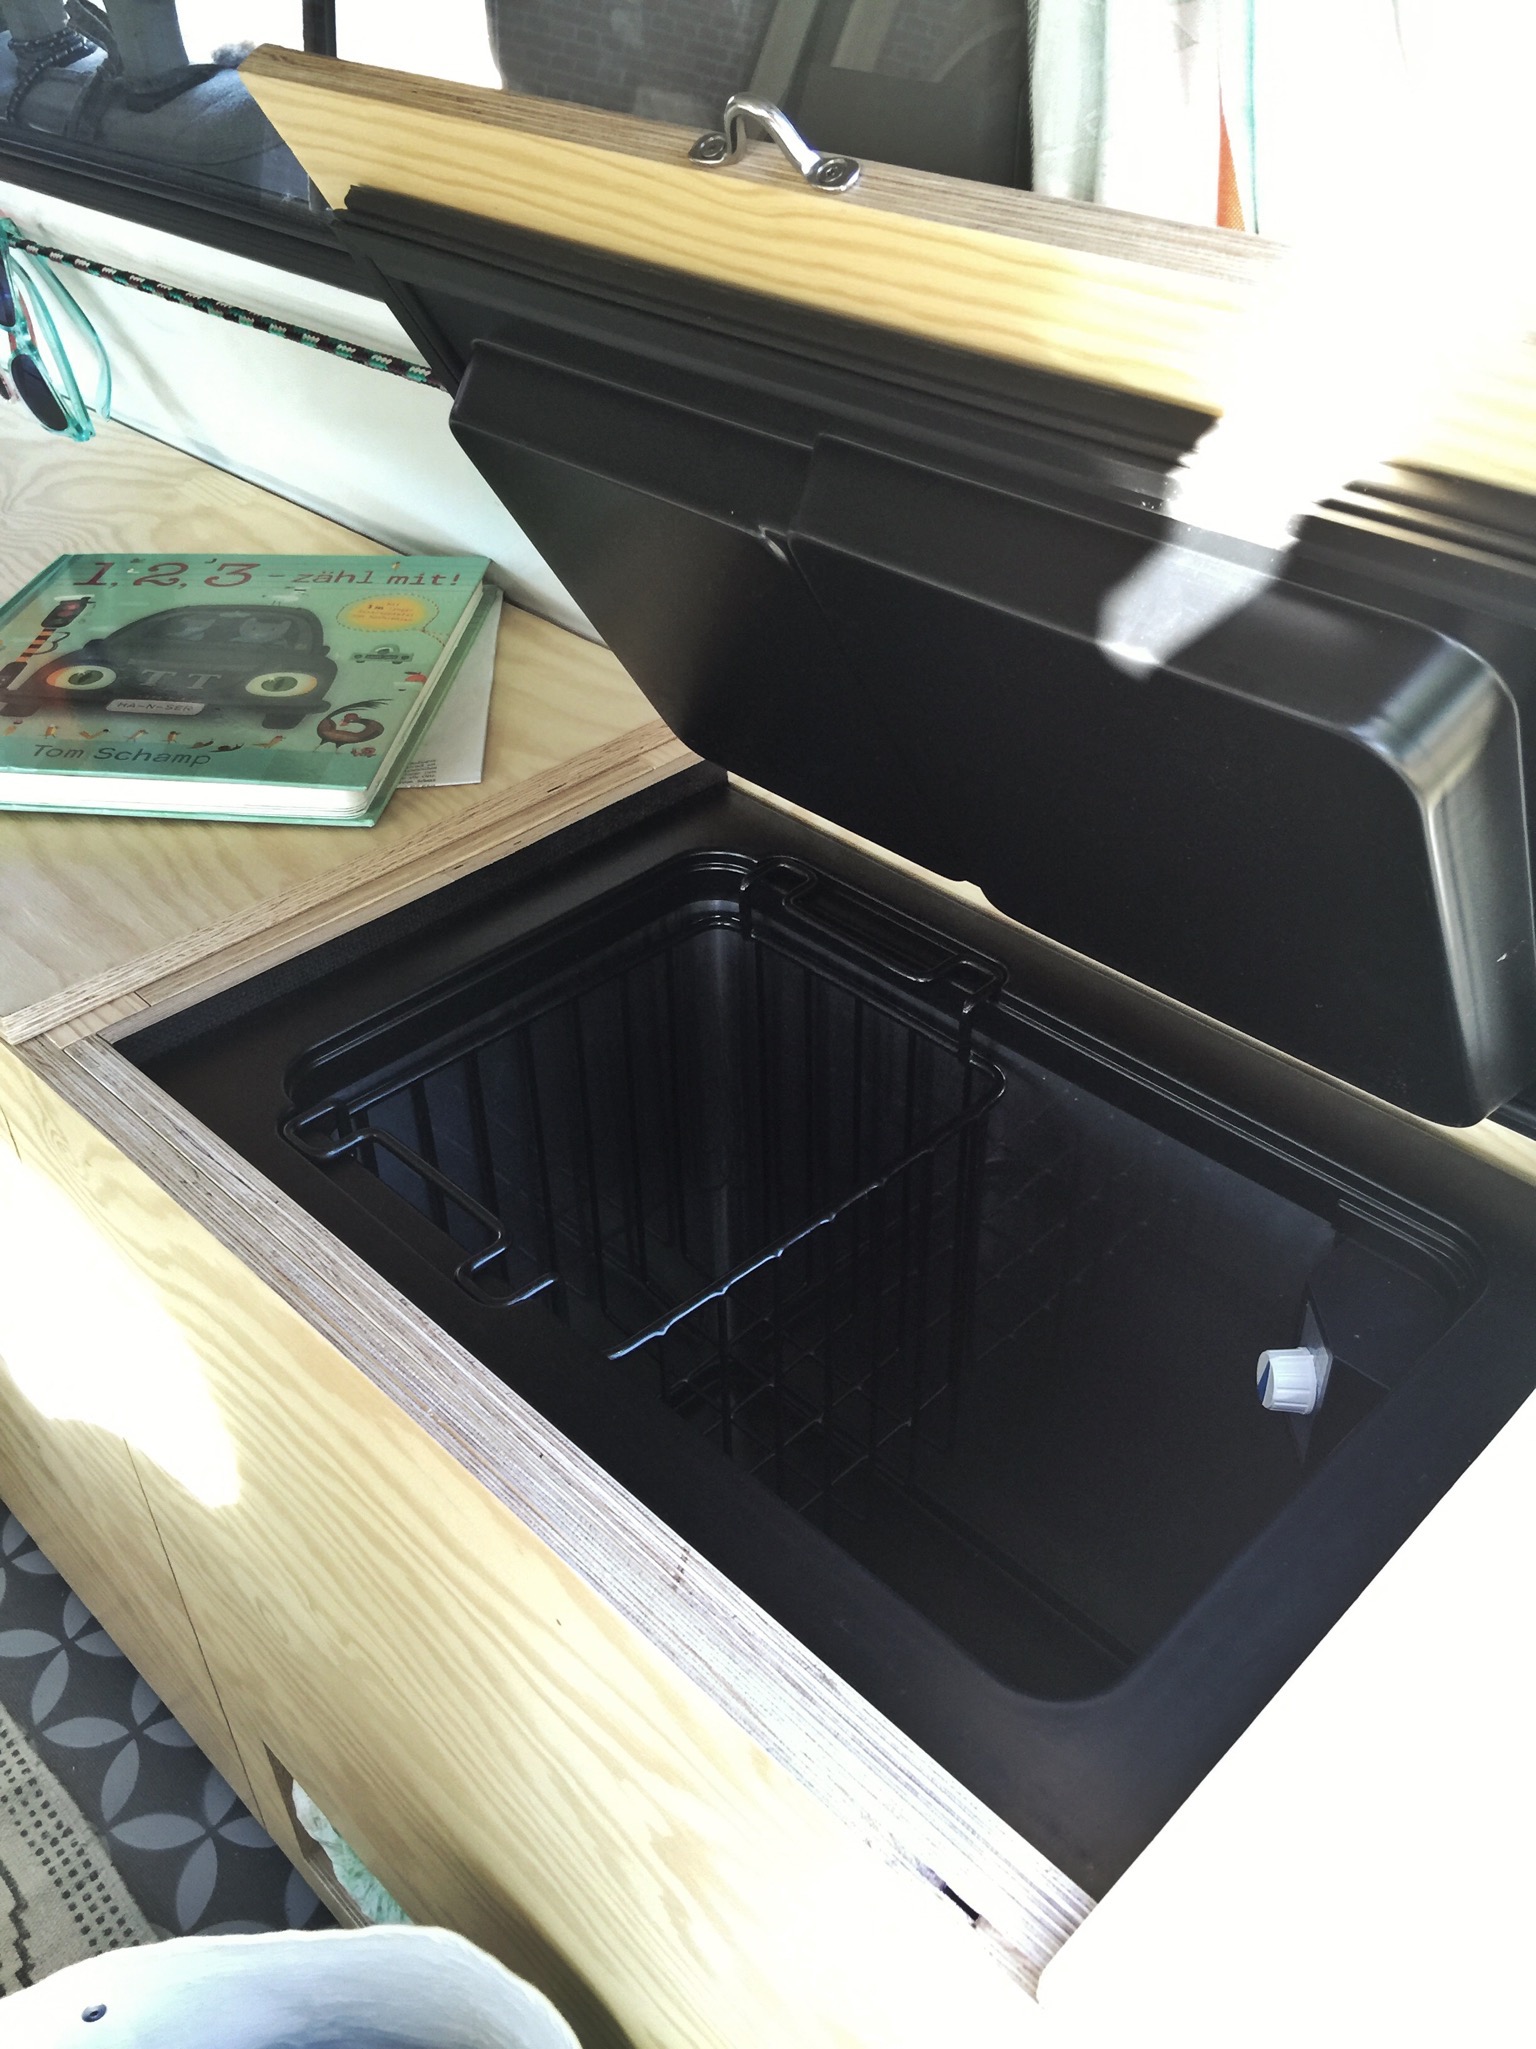
I found the lid-handle in the boat supplies division of the local hardware store
I didn't fixed or hinged the lid, but let it completely removable, so that even larger bottles and containers can be easily removed, despite the prominent bulkhead divider.

Still no curtains inside
That I got the box to fit accurately and vibration-proof at the exact right place still seems to be for me like a small miracle and is sth I'm very proud of.
For optimal ventilation on hot summer days I have specially added a second hinge door with which I can ensure an even faster venting and which I can also use as an additional cooking place.

The panelling
After so many exhausting days of furniture construction with its challenges and problems-solving, I was really looking forward to the comparatively meditative paint-job of the wall cladding. These I had previously sawn out with the help of the old wall-panels as stencils (of course, not without doing another mistake, meaning cutting an unnecessary hole, for a non-existent, second sliding door handle), so that nothing stood in the way between me and my well-earned meditation painting-job.

The original tailgate-cladding right before the cutting

Here you can see my "cladding-hole", sawed by mistake and concealed with a piece of textile
The choice of the perfect green tone had been made weeks before: the grayish-green shade "Pigeon" from Farrow & Ball.

All very nice colors, but most of them I considered as overly "mintish"
As material for the panels I have used the somewhat more stable "LAUAN"-plywood in 4mm, which is cheaper than pine and has a nice structure, still visible, even after painting it. For the fixing I had decided to set rivet nuts and ordered high quality stainless steel screws, instead of the original plastic clips used by VW.

Right foreground you can still see the former color of the original VW panels
I wanted to use the existing openings in the sheet metal and try to avoid the drilling of additional holes. However, I underestimated the required power for setting the nuts. After an attempt on my part and the sight of the amount of nuts left to be set, I let go every thought of DIY and entrusted the expert, who had already successfully dealt with my roof hatch and solar module, with this problem. After hours of work and with stoic serenity he set approx. 200 rivet nuts, so that later I theoretically simply would have had to screw on the wall panels. But practically, I hadn't worked exactly enough when transferring the holes from the stencils to the plywood. As a result, some of the screws were later too tightened during the assembly of the panelling, which in turn led to the dreaded "twisting" of the nut, with nuts which suddenly no longer fit tightly into the sheet and screws that could neither be loosened nor tightened... Not funny, I can assure you! But as long as the cladding doesn't need to be dismantled, I don't care. As far as I'm concerned this problem needs be fixed another time (or year, or even better: in another life).
The pull-out bed
Finally I came down the stretch and it was time to build the pull-out bed. My pre-considerations were that it should be possible to preserve the passage between the two sliding doors. This was especially important to me out of the camping season, because even when the van mainly will be used as a summer camper, I drive the car all year. Therefore I didn't want the bed take too much space when not in use. I wanted a flexible bed with multiple seat-variations to choose from. So I modified the design of a common pull-out-bed-construction (which you can find all over the internet) into a two-part Version. Now I can choose between the telescoped "winter position", an extended L-shaped seat where only one half of the slatted frame is pulled out and -of course- the fully extended bed.


her you can get a glimpse of the pull-out mechanism
When planning the sideboard I had to take the right measurements into account, so that an extended seat would not be a hindrance for cabinet doors or the drawer. This took me awhile, but for what it's worth in the end everything works just fine and smoothly.

For the division of the seat upholstery, this meant a large undivided mattress for the permanent seating area and a useful partition of the cushions for the extendable area.
Although the division has the disadvantage of less accessability for the storage space beneath the bed because of the additional necessary legs for support, it definitively increases the stability (if the child has to bounce on the mattress again).
The camper in action, using and testing the outside socket for the very first time

Cosy dinner mess...
Preparing breakfast after our very first night in the van, some place near Berlin
Textiles
With the curtains, I initially held back, because at first I wasn't sure if I wanted curtains at all. This small space is already filled with so many things, especially with textiles, I simply didn't wanted to add even more. Of course at night I need something to darken the room and keep out unwanted insights. So I simply sewed some blinds, with magnets in the hem from some leftover IKEA-curtains. And with this solution I am so far still quite satisfied. Sometimes it is a bit cumbersome but has the advantage that it doesn't take much space and -while driving- my sight is not hindered from side curtains.

Here you can see the curtains I used so far: They sit, with attached magnets, exactly in front of the windows and can easily be removed during the day and be put away in the closet
Only in front of the partition window I decided to have some permanent textile: here I used tea towels as curtains. At home, both towels had waited until now in vain for a suitable application: the neon-orange towel (from hay and the SCHOLTEN & BAIJINGS collection) looks great, but is not suitable for drying hands or dishes (too little suction) and the other towel (from the wonderful dutch textual designer Mae Engelgeer and her ISH collection) was simply too beautiful for our profane washing-up. In order to avoid the need of drilling additional holes in the sheet metal, I have attached a somewhat oversized cable construction by means of strings, carabiners and magnets, which I love to look at and serves the purpose.

Another possible use of tea towels...
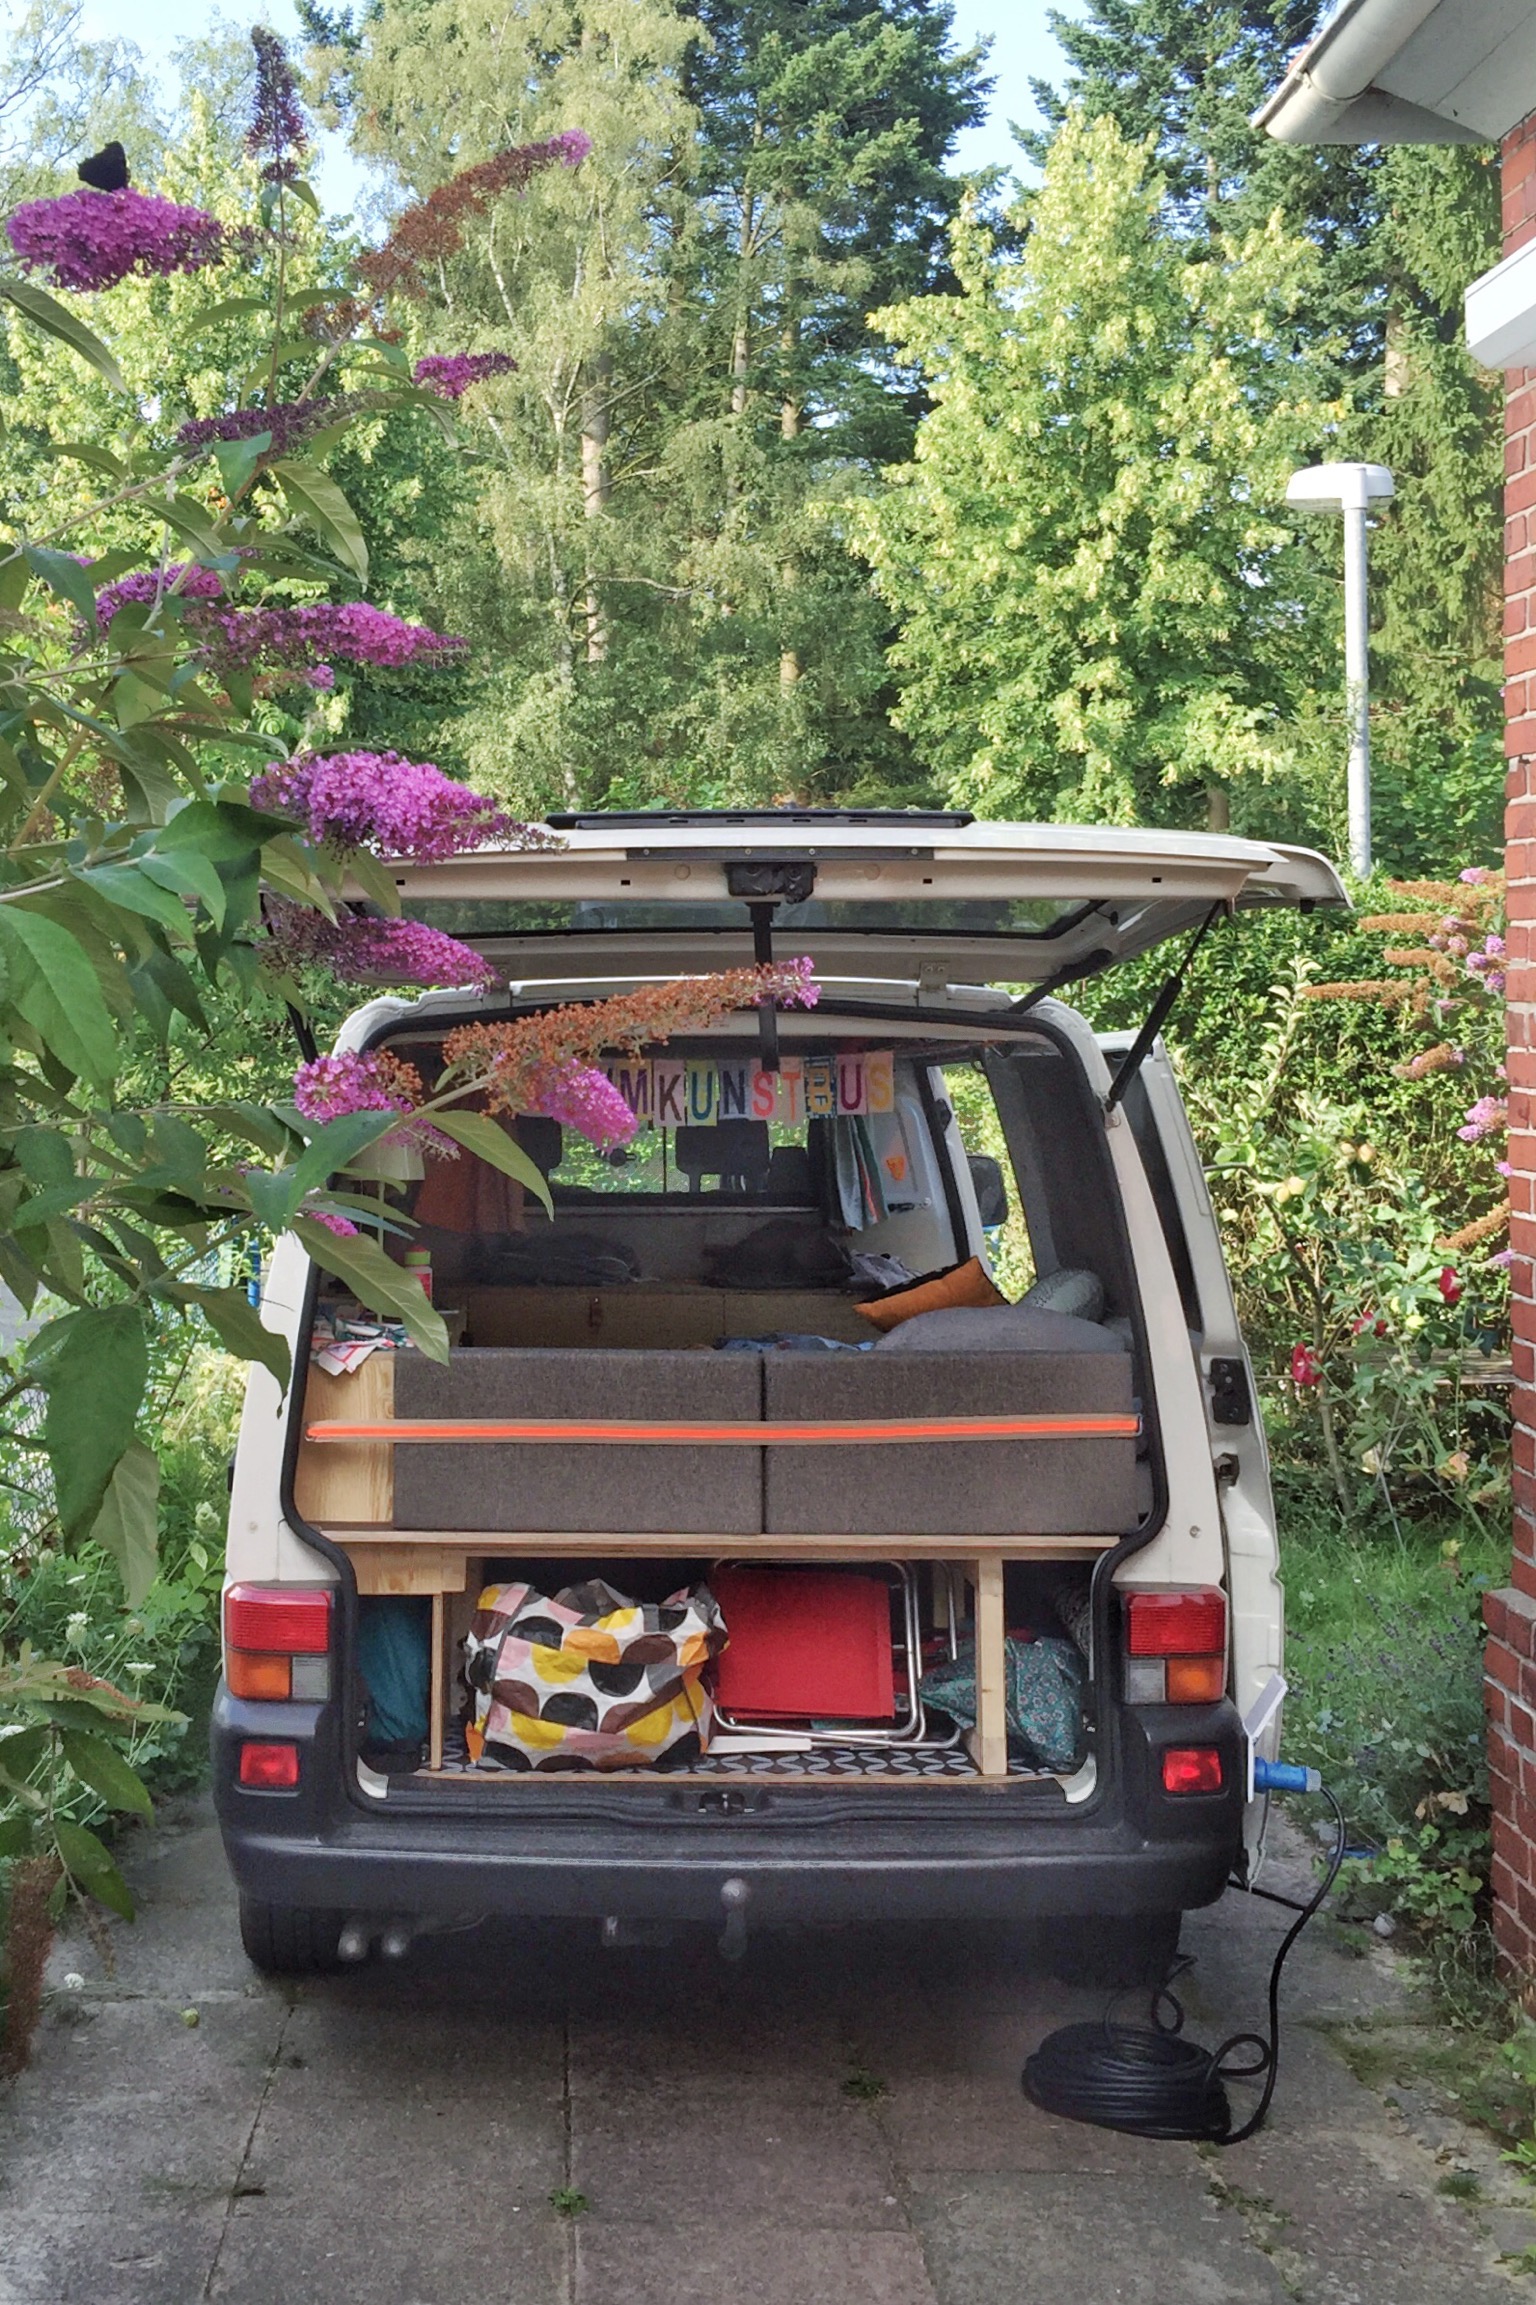
Instead of the obligatory pennant garland, which may not be missing in any vw bus, I decided to use a rectangular design version with letters, which I found in the small furnishing shop "Interiör" in Hamburg-Eimsbüttel and which now shows the name of my camper RAUMKUNSTBUS (at least if the tailgate is open).

The name of my camper RAUMKUNSTBUS is composed of the three german words "Raum", "Kunst" and "Bus" meaning "room", "art" which stands for my work as an interior designer and "bus" for... exactly: the van!
The bedspread is a personal creation of several, simply sewn together, handmade scarves in shades of gray-brown-rose. I had bought the scarves a long time ago at a fair trade in Berlin, without knowing to what purpose, simply because the colors spoke to me.
With the unusual dimension of approx. 1.40x1.50m, it now conceals perfectly our duvets and pillows in the back area when beeing on a camping trip.

Material Impression of the interior. The blanket was sewn together with yellow neon yarn from misused hand-crafted scarves.
Conclusion
To convert the bus all by myself was an incredibly great, pretty exhausting, totally instructive and extremely satisfying experience, which I would definitely recommend to anyone!
A good planning shortens the process enormously and in my experience: It is sometimes worth at some point to spend some money on the help of professionals (and here I'm gladly including myself) because this can spare you in the end often time, nerves and sometimes even unnecessary expenses.
The feeling of happiness when travelling in a self-converted bus, tailored exactly to your own individual needs, is in any way great and to wish to everybody!